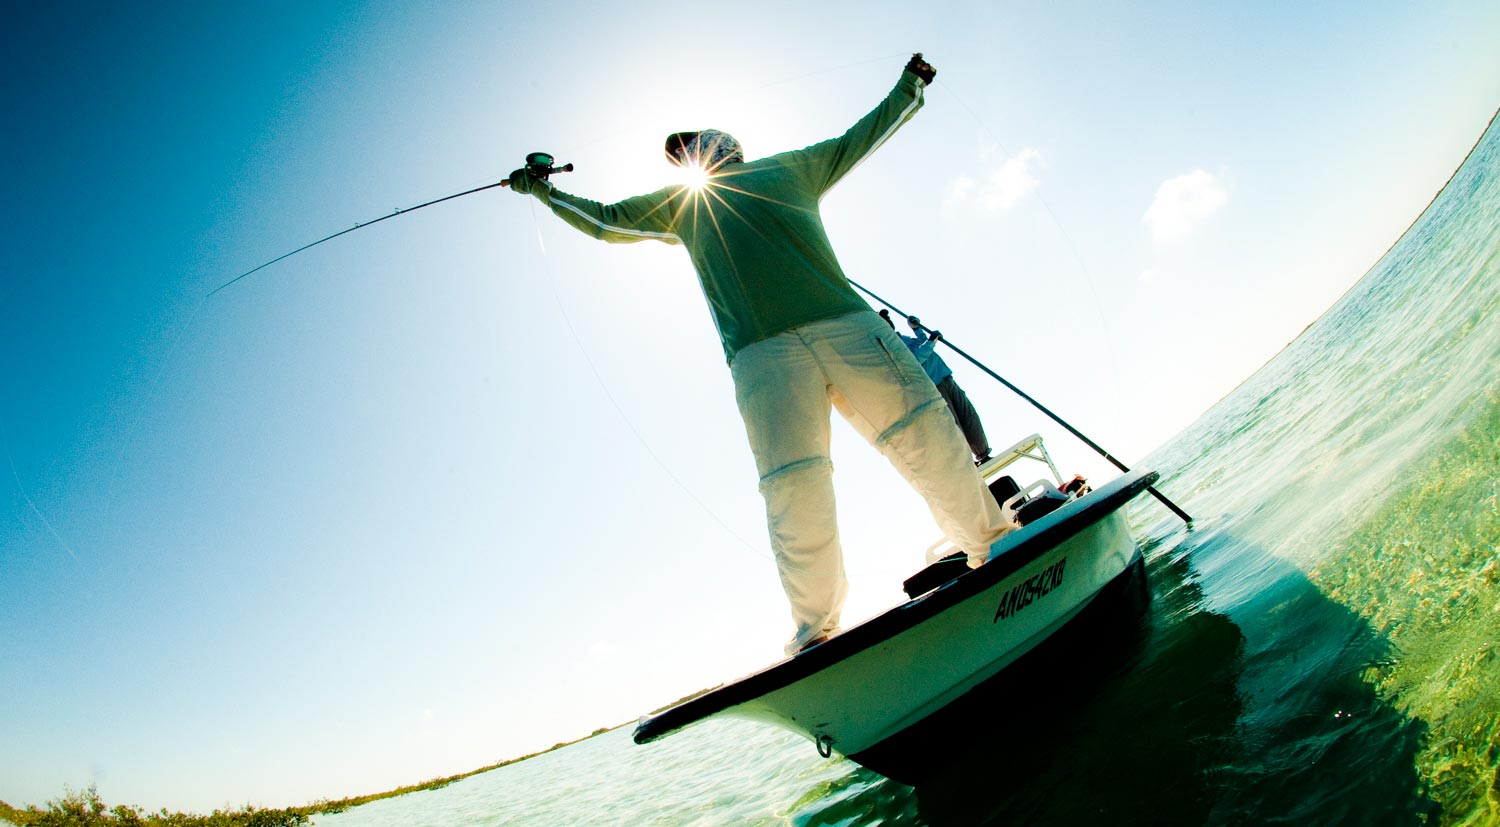
Photo by Louis Cahill
By Louis Cahill
Want to take better fly fishing photos?
Just the other day one our Facebook followers asked if I would post some tips for taking better fishing photos. I’ve written a good bit on the subject, but the articles are scattered across the site. I thought this would be a great opportunity to put together one source for some of my best photography tips and tricks.
So here it is, 12 tips that will make your fishing photos rock!
Holding Fish For Photos
The first step in getting a great shot of a fish is knowing how to hold it properly. I am constantly amazed how many anglers don’t know how to hold a fish for a photo, but to be fair, Kent and I have had a lot of practice and we have it down to a science. Here’s an article from each of us on the subject.
4 Tips For Getting A Better Picture Of Your Trophy
What if you’re fishing alone when you catch the fish of a lifetime?
No problem. Here’s an article that will give you plenty of options for getting a great shot.
Getting The Hero Shot When You’re Fishing Solo
Great photos start the basics.
It doesn’t get more basic, or more important, than a stable grip on the camera. Here’s all you need to know.
What’s in a file?
Digital photography offers photographers some pretty amazing options for producing images with a unique look and feel. To get the most out of you DSLR you need to take advantage of the RAW file format. Here’s the scoop.
What’s an ISO?
The look of your images has everything to do with how you set up your camera. Choosing the right ISO is a step to many people skip or just don’t understand. Get it right.
Its OK to shoot in Auto!
Too many people think you can’t take great photos with your camera set on automatic. You can and I do it all the time. There are just a few things you need to know. Why make it harder than it needs to be. Get the most out of auto.
Feeling a little fuzzy?
Every photographer needs to know how to adapt to changing light. Here are some tricks to help you get better photos when the fishing is at its best.
Getting Sharper Photos In Low Light
Want to try something cool?
Fill flash yields a dramatic look. It’s technical, but with the right info you can get great results. Here’s what you need to know.
Get it all sharp
Great photographers are masters of depth of field. Here’s an article that will help you get it sharp where you want it.
Capture the action!
Freezing the action of fly fishing makes for dramatic photos. It’s all about light and shutter speed. Here’s what you need to know to stop time.
Shutter Speed For Freezing Action
Make truly powerful photographs.
Here’s where we get right down to it. That illusive something that makes a truly great photo. Master these three things and you will be more than a pro, you’ll be an artist.
Get out there and put these tips to work. It will be time for the annual G&G photo contest before you know it and I’ll be expecting some great work from you guys this year. Get snapping!
Louis Cahill Gink & Gasoline www.ginkandgasoline.com hookups@ginkandgasoline.com Sign Up For Our Weekly Newsletter!
You forget tip #s 13A and 13B
13A: Don’t photograph anyone while they
hold their flyrod in their teeth.
13B: Don’t photograph anyone while they
balance their flyrod on their shoulder.
Amen brother!
How many fish have died as a result of a cell phone? Far too many, maybe not as the photo was taken but later due to exhaustion. Look at it this way. You just ran a 26 mile marathon and at the finish line someone wants to take your picture. They put your head in a bucket of water for thirty seconds, tell you to hold on and then take your photo. Just release the fish, you know you caught it.
I taught photography for many years and have maybe 5 pictures of trout. Trout are too valuable a resource to injure, just enjoy the catch and release as quickly as possible.
Hi
First off all, this is such a great Blog, Thank you Louis.
@ R_Rob , thats a very good !
If you want to take a picture, think about the health effects of the fish.
Try to follow the Keepemwet principles
Best regards from the EU
Milo
From Keep-em-Wet:
The idea behind catch-and-release fishing is that the fish will survive, grow bigger to be caught again, and continue to contribute to the population. Yet, we know this isn’t always the case. Fish sometimes suffer mortality after release due to stress or injuries associated with angling Whether or not a fish survives depends on its condition, which can be hard to assess as an angler without any fancy medical or veterinary tools.That is, until recent research developed a set of reflex tests that can be applied to fish, by anglers, to assess their condition. These are the four most effective reflex tests, how to do them, and what they tell you:
1. Escape response
How to do it: With the fish in the water in a net or live-well (scientific holding pen shown here), approach the fish from behind and grab at its tail. Observe if the fish attempts to escape.
What it means: If a fish doesn’t try to swim away it fails this test, has at least some level of impairment and could be at risk of mortality – other tests will provide further insights.
2. Righting response
How to do it: Flip the fish upside down (belly up) in the water and let go. Observe if the fish rights itself within 5 seconds.
What it means: If a fish cannot right itself within five seconds it fails this test, and is in poor condition and at risk for mortality.
Pro tip: Count the amount of time until the fish rights itself and note whether it struggled to do so. If a fish rights itself quickly and with ease, it is in good condition to swim away immediately.
3. Regular ventilation
How to do it: Holding the fish in the water, observe for regular, consistent ventilation (opening and closing) of the operculum (gill plates).
What it means: If a fish isn’t ventilating at regular intervals, it fails this test, and is highly impaired and at high risk for mortality.
4. Eye tracking
How to do it: Holding the fish in water, roll the fish side-to-side, observing whether its eye(s) remain level (passes test), or roll with the body (fails test).
What it means: If a fish fails this test, it is highly impaired and at very high risk of mortality
Link to article:
https://www.keepemwet.org/keepemwet-news-1/2018/2/14/fish-reflex-tests-a-valuable-tool-for-anglers
Pingback: Tippets: All About Floating Lines, Tips for Taking Better Photos | MidCurrent
Pingback: Tippets: All About Floating Lines, Tips for Taking Better Photos – LB Hunting