Way back before we had digital cameras, I can remember how excited I would be racing to the closest One-Hour Photo store to get my film developed.
The anticipation of waiting to review my big fish photos was almost as fun for me as catching the trophy. I wish I could say all those developed photos came out perfect but that’s far from the truth. Some came out great but the majority were blurry, had my head cut off, or I was holding the fish like a rookie. Nowadays we have the luxury of instant feedback with digital cameras, so we don’t have any excuse to not get good photo when the fish cooperates. Below are four tips for capturing better photographs of your trophies with examples of the right and wrong way to hold your fish. Keep in mind there is a learning curve for handling big fish. The more you do it the better you get.
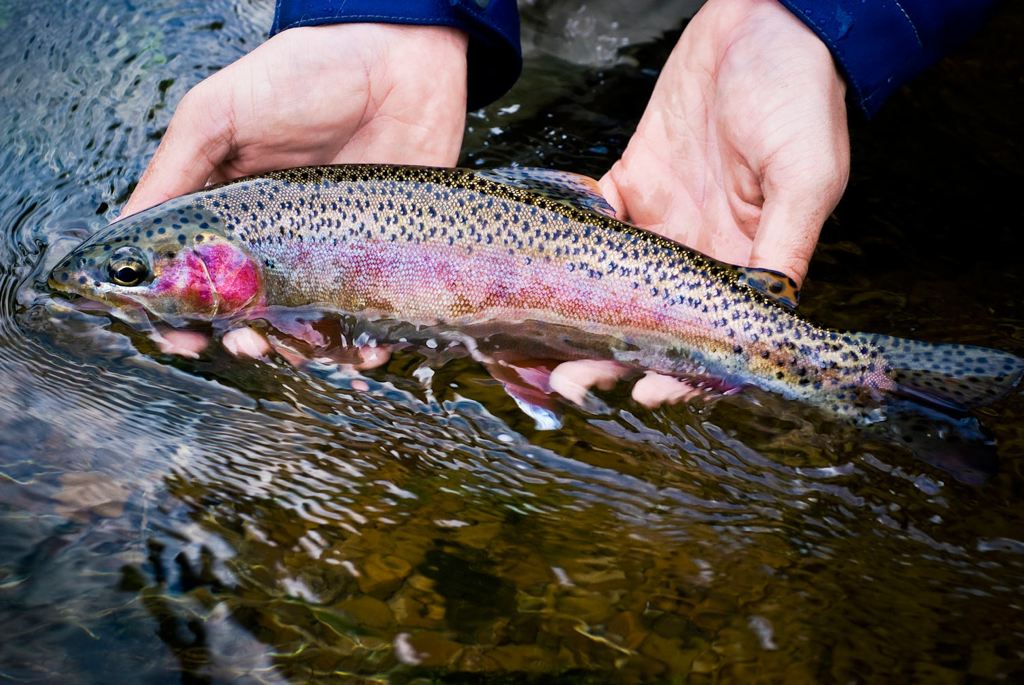
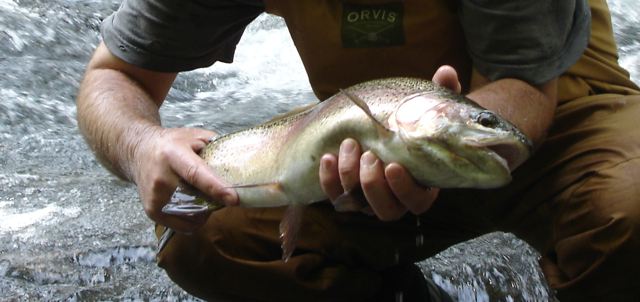
1. Hold the fish with the tips of your fingers not your palms
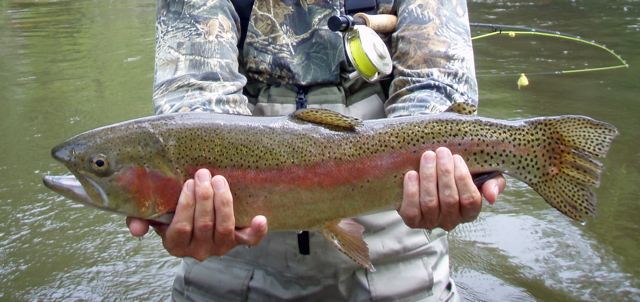
2. Hold the fish level, making sure the head and tail of the fish are on the same plane
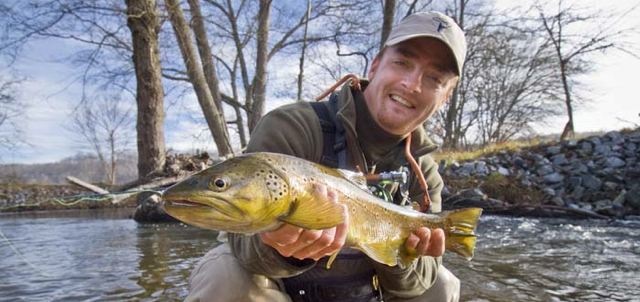
3. Keep the back of the fish perpendicular to the water
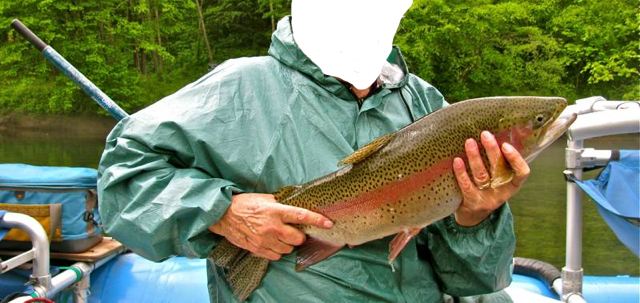
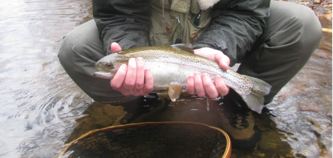
4. Cradle the fish behind its pectoral fins
Above are four of the most common mistakes I see anglers making when they’re trying to get a good photograph of their trophy. Take your time, always handle your fish gently and humanely, and don’t be afraid to look down to make sure your holding the fish correctly. If you do this you’ll find the majority of your photos will turn out great.
Kent Klewein Gink & Gasoline www.ginkandgasoline.com hookups@ginkandgasoline.com Sign Up For Our Weekly Newsletter!



Nice breakdown. I’m always frantically trying to get a fast shot before getting it back in the water and always have mixed results. If it flops, it’s usually “better luck next time” for me.
Nice post, thanks for the tips!
#3: keep the back of the fish perpendicular to the water. Did you mean parallel to the water ? It seems to me that fish don’t like gravity so much while in vertical position outside of the water.
Always a good time reading everyday on Gink and Gasoline!
Jahul,
Tip 3 I did mean holding the fish at a 90 degree angle to the water. The more parallel you hole the fish to the water the more light will be reflected by the fish and the more white belly you will see. This will not allow you to capture the detail and colors of the fish. Look at the two photos again with Tip 3 and I think you will agree the picture on the left is much better.
Kent
Hi Kent,
thanks for your answer, I now understand what you meant, sorry for my poor english.
The picture on the left is clearly better in tip 3; I can also see that in pictures with tip 4 where the fish on the right is almost white due to light reflection.
Thanks again for your explanation and your quality blog
jahul
Jahul,
Your very welcome and thank you for following out blog.
Kent
yeah, formulation on that one is tough…
actually that’s not the back which is perpendicular to water, more the sides of the fish, or more precisely the sagittal plane, but I guess that’s a little overkill.
That’s a great post. I love the straightforward, no-nonsense attitude. Would you mind if I gave a french version of it on my blog (with proper credit, of course)?
Pingback: Shooting fish | g0ne castin9
I’d suggest taking your photos with the camera held vertically. You never know when you’ll have a magazine cover quality picture, and you wouldn’t want to miss out because you took it horizontal.
Dion,
Thanks for the comment. That’s a good point and of course I do exactly that myself. We tend to use horizontal images for the site because they work better in our layout. Thanks for following G&G!
I was taught to extend my arms as far as possible to make the fish look huge compared to the person in the background. Seriously – nice post and good advice.
Thanks JK. That’s good advice.
Pingback: 12 Tips for Taking Awesome Fishing Photos | Fly Fishing | Gink and Gasoline | How to Fly Fish | Trout Fishing | Fly Tying | Fly Fishing Blog