It’s a common misconception that “real photographers” only shoot in manual.
It’s not true. Certainly not for me. I grew up using manual cameras. Cameras that didn’t even have light meters. In fact I’ve spent as much time looking at the ground glass of a view camera as through the lens of a DSLR. I’m perfectly comfortable with it but I recognize that the automatic features of modern cameras offer benefits that can improve my work and I see nothing wrong with using them.
What “real photographers” do, is understand their exposure choices. How a photograph is exposed has an enormous impact on its emotional content as well as its clarity and color palette. The proper exposure for any given image is a highly subjective thing and possibly the most important choice the photographer has to make. Whether in manual or automatic mode, there are choices to be made and good choices are never made blindly. The key is in understanding what your camera sees and knowing how to control it.
Understanding your meter
The first issue is understanding how your light meter works. There are two components to this. First, how the light meter judges a scene and second, how that judgment is influenced by the meter mode selection. First we will look at what your meter sees.
No matter how advanced your light metering system, it is still a dumb machine. That holds true for use in manual mode as well as automatic. This is where novice photographers go wrong in switching to manual mode. The meter functions in exactly the same way and the user either understands that functionality, or they don’t.
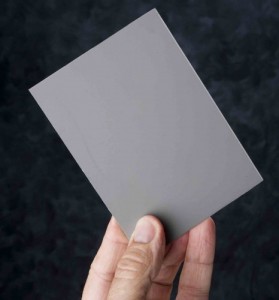
To put it simply, the camera doesn’t know what it’s photographing. It is only able to judge tone. To some extent modern cameras know about highlight and shadow but what they really see is the middle of the tonal scale. A value that photographers call 18% gray. That’s the color of the world, to your camera and, in old school black and white, it is pretty close to the tone of a clear blue sky or fresh green grass. If all you ever photographed was a field of fresh green grass with a clear blue sky and the sun at your back, your light meter would do a pretty good job.
Correcting for conditions
The problem is, we shoot a wide variety of scenes and our light meter just isn’t prepared for all of them. We have to do the thinking for the camera. Take a minute to evaluate the lighting conditions surrounding your subject before you shoot. Ask yourself, how do I want this to look? What are my exposure options?
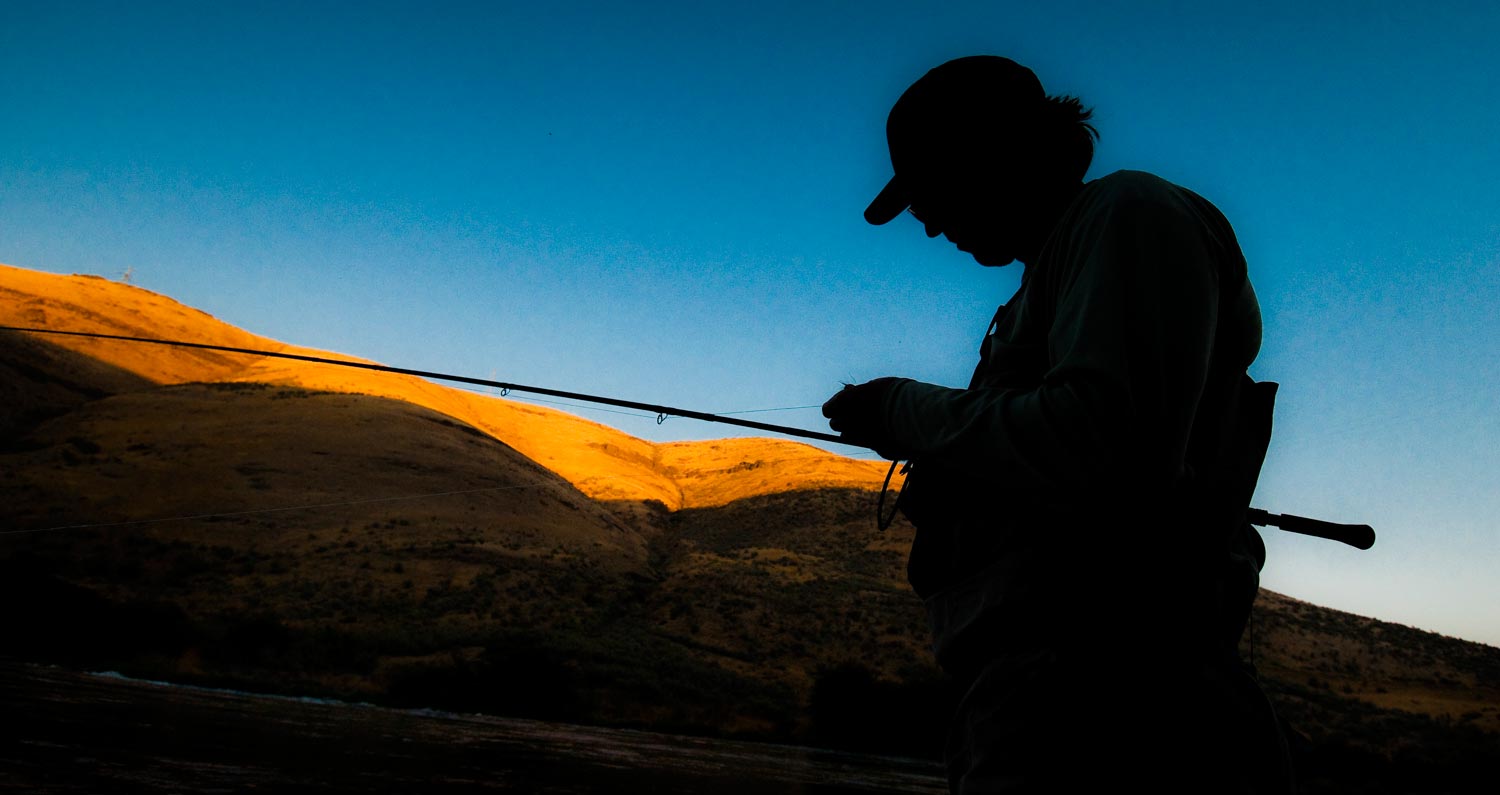
Let’s say for example that your subject is silhouetted against a bright sky. If you leave the choice to your meter, it will expose for the average. The camera will see the expanse of bright sky and turn it 18% gray. (Remember, your camera is color blind.) your subject will read as a dark silhouette. That can be a great look if your going for drama, but not if you want to see your child’s smiling face. So how do you fix it?
All DSLR cameras have an exposure compensation adjustment. Usually a button with a +/- symbol next to it. On my Nikon for instance, I hold that button and spin the dial at my thumb. Turning the dial to my right displays exposure compensation in the positive range. (+.3, +.7, +1.0 etc,) this makes the image brighter incrementally in thirds of stops with +1.0 being a full stop, or twice as bright. The average compensation value for a backlit subject is about +2.0. If you’re using a digital SLR, a quick look at the LCD screen will tell you if you have the right setting. Turning the dial to the left will result in a darker image. Again, this is how you adjust a Nikon. Your camera may be different but in essence the adjustment will be the same.
Metering modes
Most DSLR cameras have three metering modes. These modes allow you to control how the meter sees the scene. The first is the full scene mode, also called average or normal. In this mode the meter will average the tonal values of the entire scene. The next mode is center weighted. In center weighted mode the meter sees the entire scene but gives more importance to the center of the frame. The third is spot mode. In spot mode the meter sees only the very center of the frame.
In addition to these, some cameras offer what Nikon calls 3D matrix metering. This is much like the center weighted mode but it uses the camera’s focus information to judge which portion of the frame contains the subject and gives that subject priority. None of these choices are “right or wrong,” it’s just important that you understand the difference and know how your metering mode is set. You can find more information on Nikon metering modes (HERE).
Automatic exposure modes
Most modern DSLR cameras allow you to select from several automatic exposure modes. They each have a purpose. The exposure mode is different from the metering mode. While the metering mode controls what the meter sees, the exposure mode controls the combination of aperture and shutter speed the camera will select. Selecting the proper exposure mode for a given situation gives you the ability to capture images quickly in changing conditions, while still making some good choices.
The three primary exposure modes are: shutter priority, aperture priority and program. Some cameras have what is called a green mode. This is the only mode I suggest you avoid. The green mode locks the user out of the system and gives the camera total control. If you are a complete moron and don’t care to learn, this is the mode for you. We won’t judge.
Aperture priority mode allows you to select the aperture the camera will use while the camera selects the shutter speed. This setting allows you to make choices about your depth of field when that is what’s important to you. For example, if you want a shallow depth of field to accentuate your subject, select a wide aperture like 2.8. If you want the entire scene sharp, select a narrow aperture like 16. As you shoot, the camera will select the appropriate shutter speed. If conditions are changing, like the sun going in and out of cloud cover, the camera does the math while you concentrate on your subject. You can read more about depth of field (HERE).
Shutter priority allows you to select the shutter speed, when that’s what’s crucial, while the camera selects the aperture. If, for example, you are photographing a jumping tarpon you will want a high shutter speed, like 1/2000 to freeze the motion. The camera will worry about the aperture so you can stay focused on the action. You can read more about selecting the right shutter speed (HERE).
In program mode the camera selects both shutter speed and aperture. At first blush this sounds kind of Orwellian. How can that be good? Actually, I use the program mode quite a bit. What most people don’t understand about the program mode is that you can still make the choice. Although the camera is selecting the proper exposure value (EV), you can still select the shutter speed and aperture combination. On my Nikon, simply turning the dial at my thumb will change these values without changing the EV. So I can quickly select either F2.8 @ 1/2000 or F16 @ 1/60. The exposure value will be the same. I like that versatility.
These automatic exposure modes, when combined with the exposure compensation adjustment, give you some powerful tools for creating impactful photographs under a wide variety of conditions. Understanding them and using them well will make you faster and more efficient as a photographer. Don’t let anyone tell you that’s not how “real photographers” do it. Real photographers understand their options and use their camera to their fullest potential. Real photographers make great images, end of story.
Come fish with us in the Bahamas!


Excellent article, Louis. Keep ’em coming!
Great tutorial, can always use camera information. Always like your information. thanks for todays tips.
Brian
In the example you provide that discusses exposure compensation. Would you need to narrow the meter mode before adjusting the compensating for exposure?
All I heard after the word “Nikon” was blah, blah, blah…..
Just kidding. Great tips. Someday you’ll have to write a book.
Someday soon hopefully