By Jeff Hickman
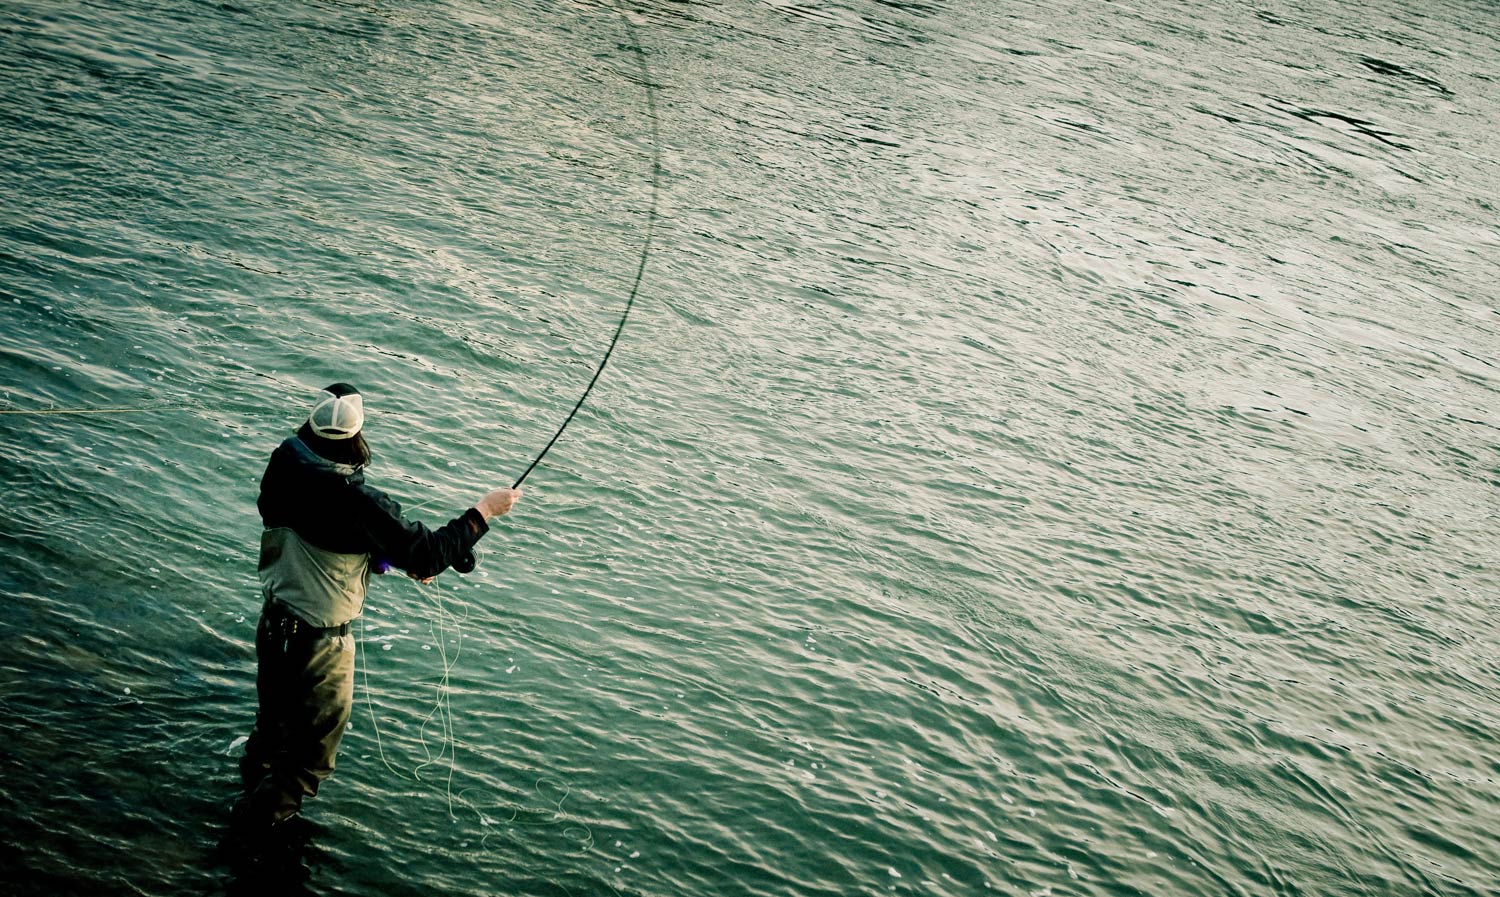
Spey casting is a process requiring several steps to be fully completed in a sequence.
To effectively and consistently make good spey casts you need to focus on these steps, especially when learning. But even veteran and advanced two-handed casters also need to focus on the important steps. Everyone who has Spey fished has had a meltdown at some point where their cast completely falls apart. In my experience these meltdowns are triggered by one small element changing. That one element starts a chain reaction that wrecks the entire cast. The cause could be external such as a change in the wind direction or wading depth or the change could be internal — you got lazy on your anchor placement or started dipping your rod behind you.
Recently while presenting at the annual Sandy River Spey Clave in Oregon, I jokingly made a reference to a fictional Spey Casting Diagnostics Checklist that I printed on waterproof paper and kept in my wader pocket. I was simply trying to make people laugh as Spey casting presentations can be a bit on the dry side. After the presentation many people came up to me and asked if I could give them one of my checklists. Since I did not actually have one, I told them I could email a checklist over. But it occurred to me that this is something that people want, so here is my short checklist that you can print and bring with you to the river next time:
Please bear in mind there are many different casting and fishing styles and infinite other variables involved. If you are wanting to learn I recommend that you take a lesson or guided trip from a quality spey instructor first. The following steps are in regards to short spey heads (both Skagit and Scandinavian style) with normal casting conditions, fly size/weight and sink tip length. These steps reflect the way I like to cast and fish and, in my opinion, highlight the most important elements of any fixed anchor short head Spey cast. There are far too many other details to include here and I will save them for later posts.
-Make sure your anchor is in the right place (fly is a rod length away from you, 45 degrees from your casting angle to the side of your body you are casting from) when you cast it off the water every cast. Note: when you cast it off the water, meaning the current speed needs to be factored in here.
-Full, level, 270 degree sweep so that the rod tip elevation/rod angle keeps the head off the water and the tip on the water. This full sweep should take approximately three full seconds to complete and end 180 degrees from your casting angle. Note: tip refers to sink tip or tip section of Scandi head. Scientific Anglers Scandi Extreme is a great training tool as the last 10 feet of the head has a color change from orange to sky blue. This is a great visual as people can focus on keeping the blue on the water and orange off the water. This visual is also true with a Skagit and sink tip, if all of the sink tip remains in the water and all of the Skagit remains out of the water then loop to loop connection is perfectly on the surface and that is the sweet spot to make perfect casts.
-Without pausing or dipping after sweep, round into your casting stroke over the top with your rod. Using your bottom hand to pull the rod forward and use your top hand to stop the rod high to form a tight loop. Note: your top hand’s main job on the casting stroke is to stop the rod tip abruptly to form the shape of your loop. This requires using your bottom hand for the power forward. The most common problem that I see is the Wood Chopping Syndrome where your top hand does everything and your bottom hand acts as dead weight on the bottom of the rod.
Hope this helps,
Jeff Hickman Gink & Gasoline www.ginkandgasoline.com hookups@ginkandgasoline.com Sign Up For Our Weekly Newsletter!


Great comments + Tips