Most fly lines these days already come with welded loops at the ends for the easy attachment of backing and leaders.
If you fish as much as I do though, eventually they get worn out and need to be replaced. Most anglers just use a standard albright knot or nail knot to fix this. It works perfectly fine, but I prefer instead to tie my own fly line loops with a fly tying bobbin and thread. Done correctly, it will provide a stronger connection to your leader than the manufacturers welded loops or knots you tie (this is important when fly fishing for big game species). The bright thread that you tie the loop with also works really well as a spotter. It comes in real handy when you’re fly fishing and you have conditions where it’s hard to keep track of your fly in the water. That bright spot on the end of your fly line provides a quick reference that your fly is a leaders length away. Below are step-by-step instructions for tying your own fly line loops.
Materials Needed for the DIY fly line loop

Photos By Louis Cahill
Step 1: Cut fly line at a 45 degree angle
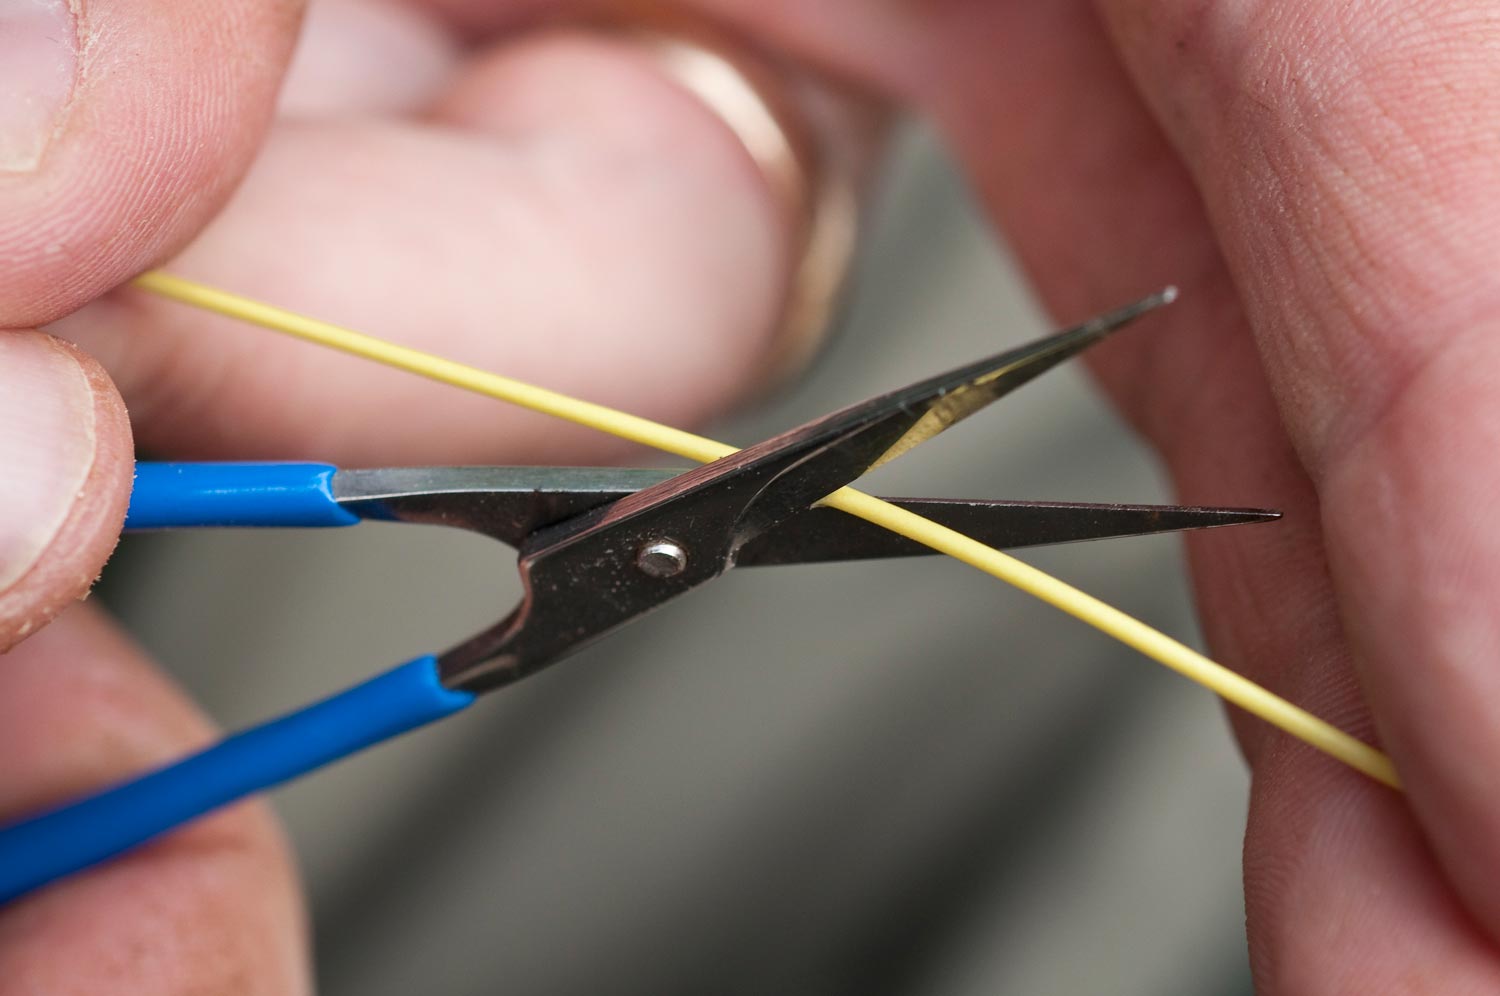
You’ll want to make sure you make a clean 45 degree cut on your fly line before you start. This will allow you to wrap the thread and fly line, finishing with a nice tapered end.
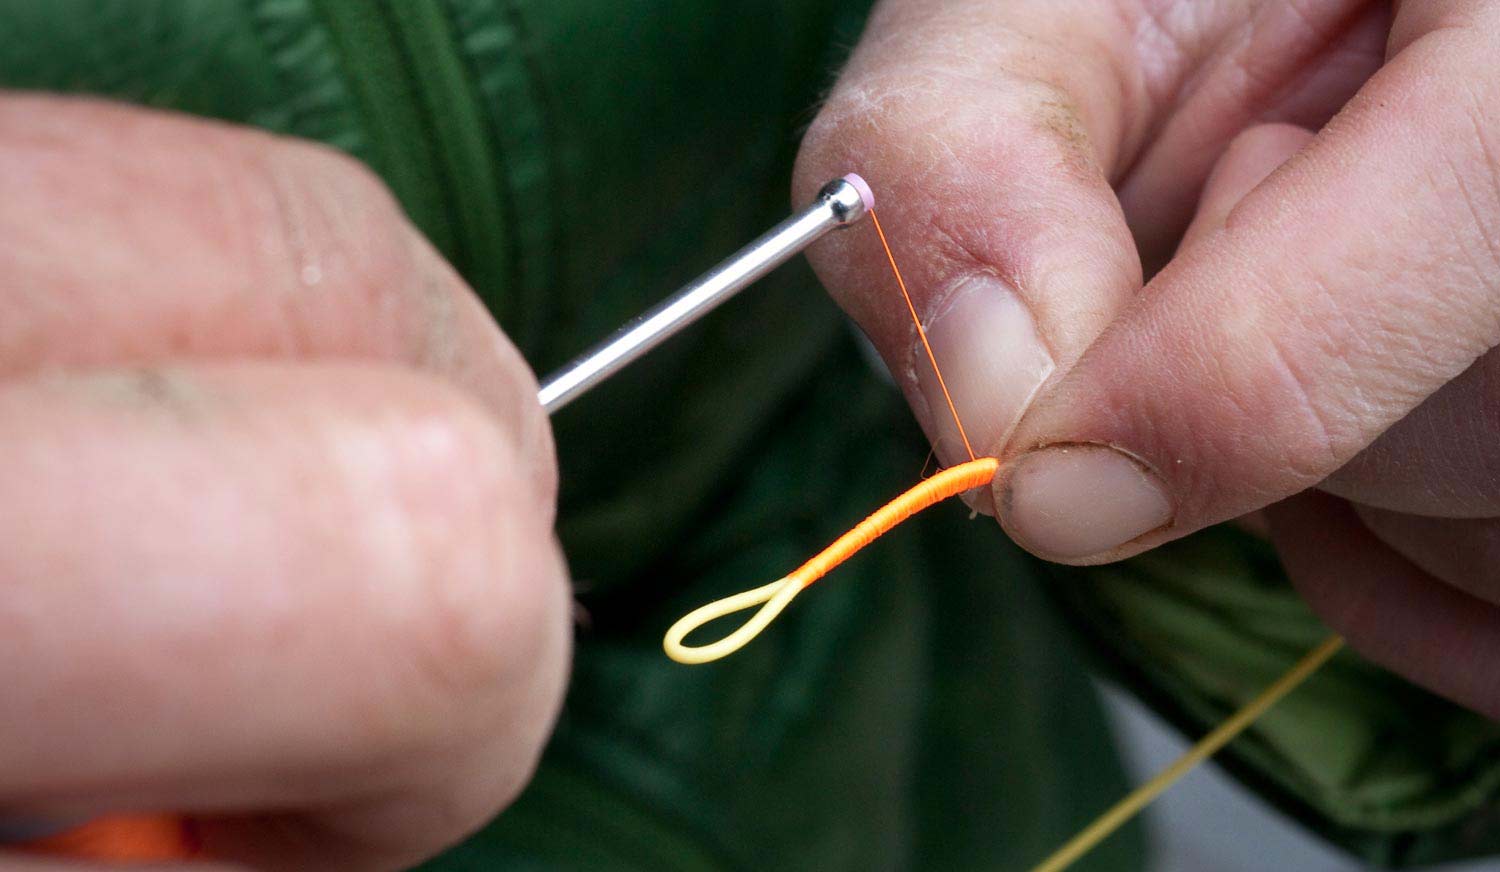
Step 2: Fold over the fly line and secure it down with thread wraps.
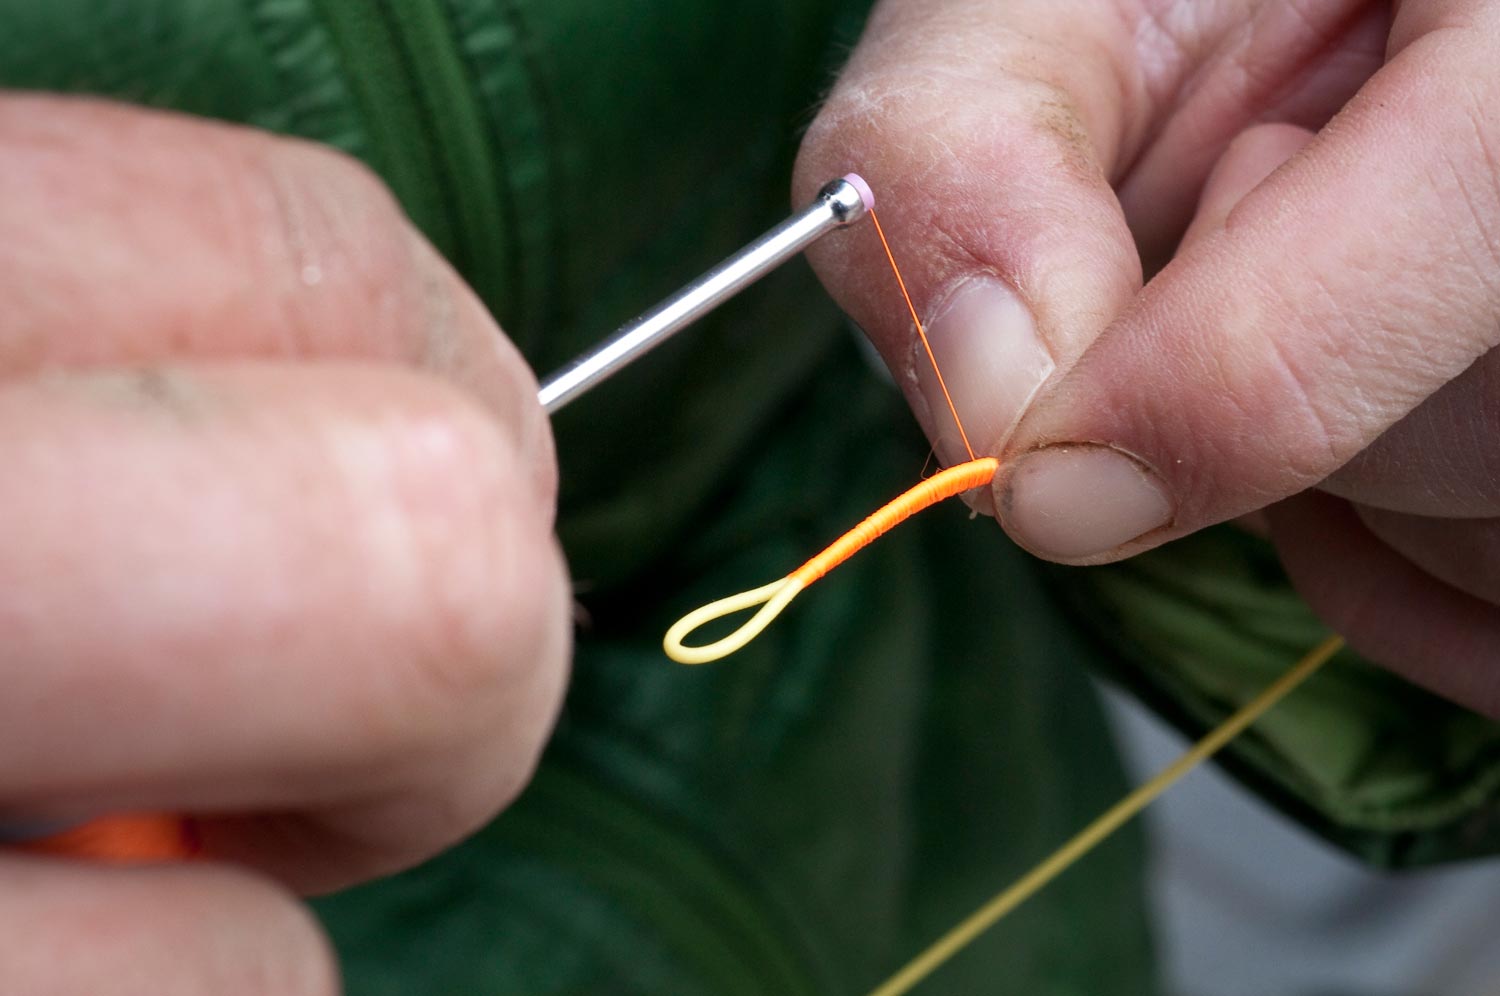
Start wrapping your thread at the loop and work your way back slowly until you’ve covered the 45 degree cut fly line all the way. Then, work it all the way back up to the loop. Be precise with your wraps, making them neat. Doing so, you won’t have to build everything up so bulky and use so much thread wraps.
Step 3: Whip finish to secure thread and cut with scissors.
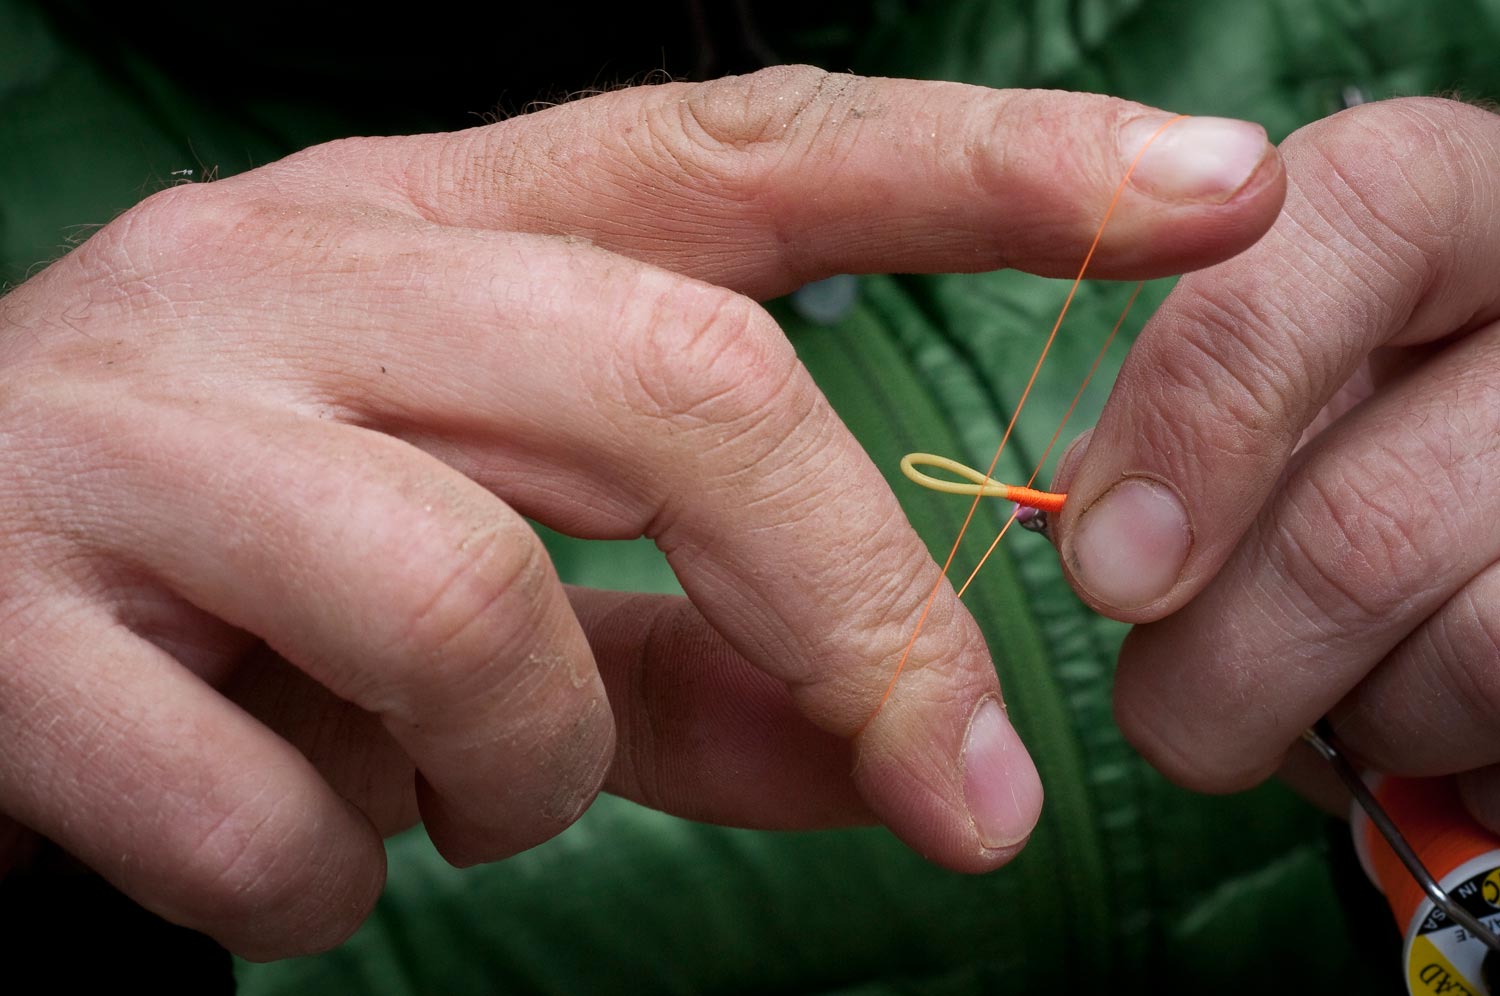
Whip finish the thread a couple times and cut the thread. Pack and use a whip finish tool if you need one to tie this knot.
Step 4: Brush on a thin coat of Super Glue
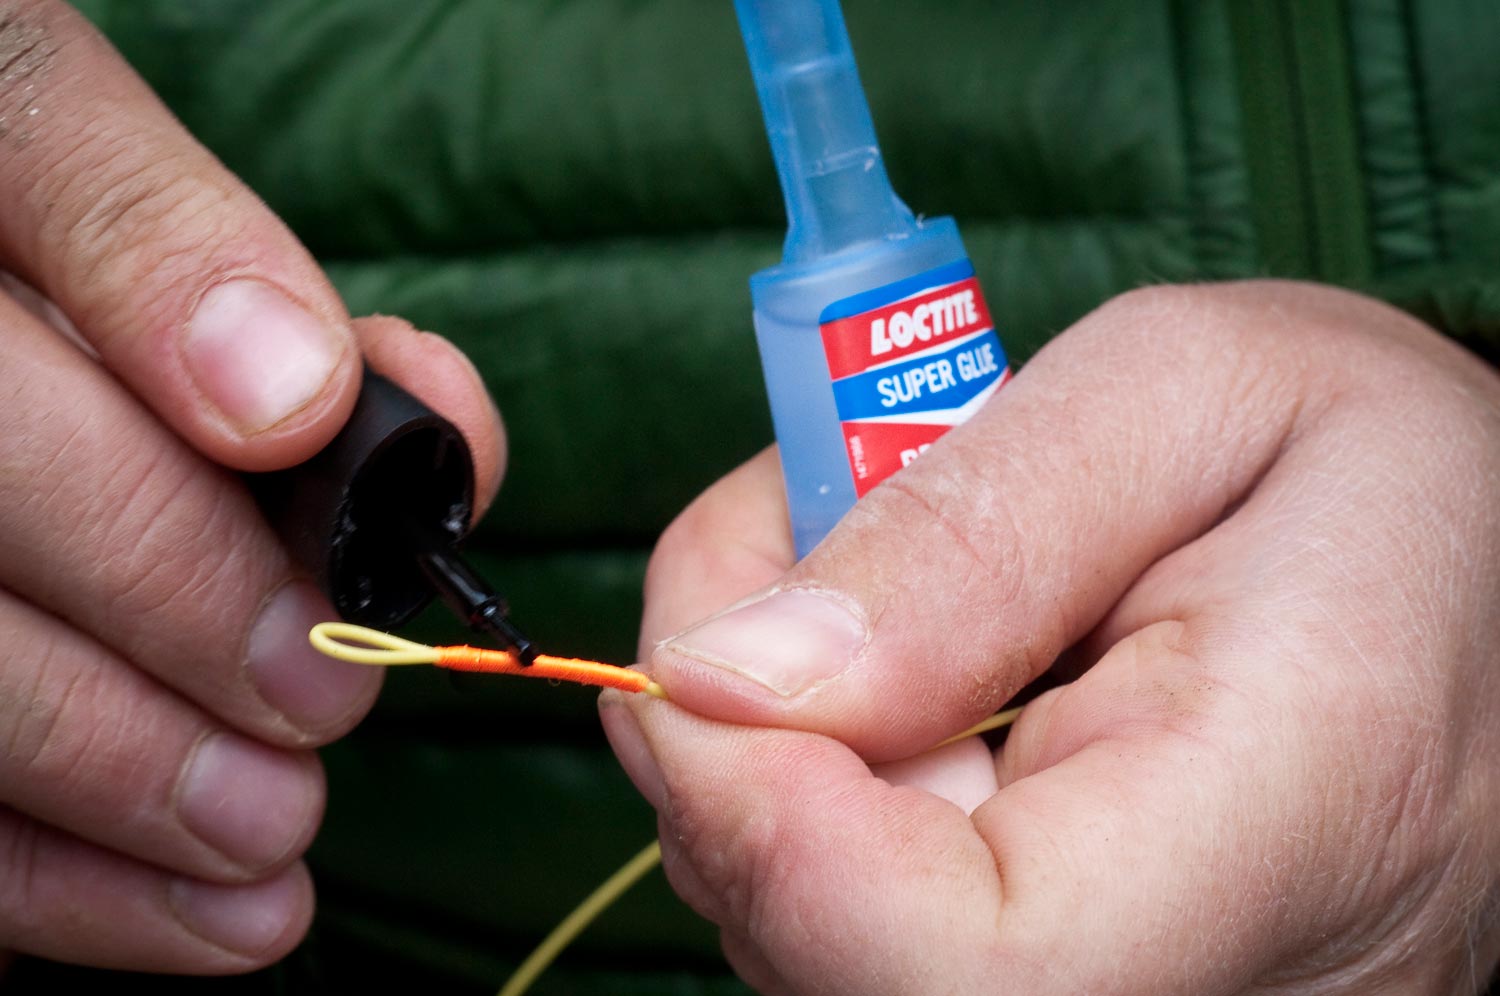
This step is probably overkill but I’m a man that believes in redundancy. I don’t have a problem waiting ten seconds for the glue to dry so I have two layers of protection and strength.
Step 5: Coat thread with Clear Cure Goo UV Hydro
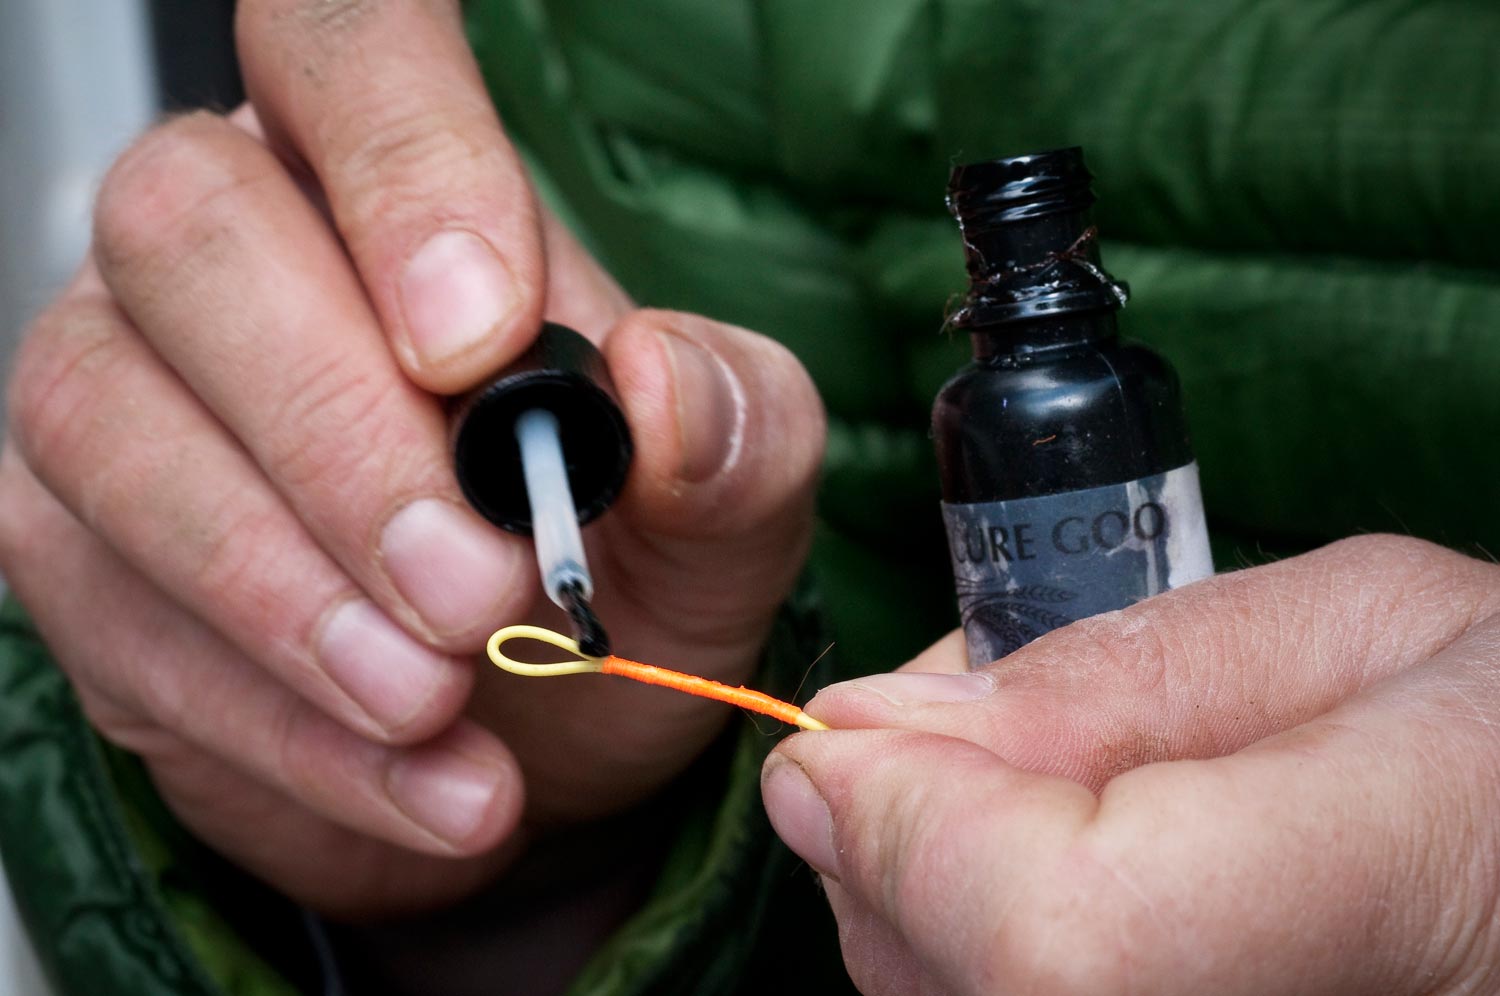
Brush on a thin and even coat of Clear Cure Goo UV Hydro to the threaded area. Remember, you can always add a second coat if you need to, so don’t get messy here.
Step 6: Use UV Light to Cure Everything
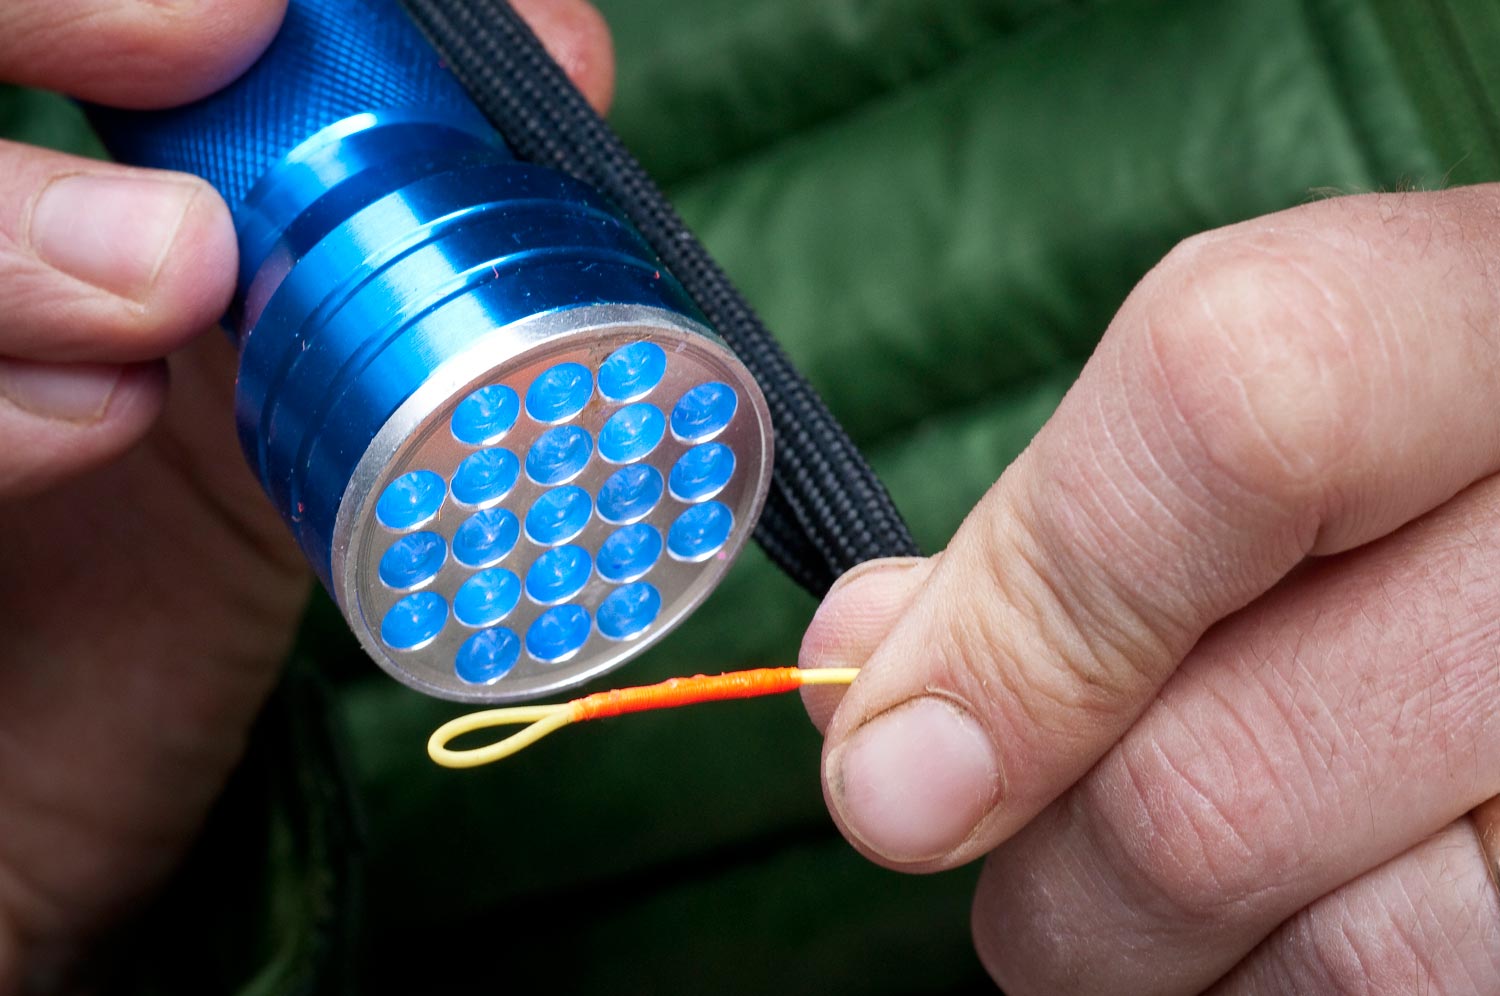
The UV light is a must if you’re doing this indoors or on really cloudy days. I carry it with me most of the time, simply because if I don’t have it, that’s when I’ll need it. Fifteen seconds with the UV light and everything should set up a nice and you’ll have yourself a super strong fly line loop.
Keep it Reel,
Kent Klewein Gink & Gasoline www.ginkandgasoline.com hookups@ginkandgasoline.com Sign Up For Our Weekly Newsletter!
I found a video of someone doing this a while back and as soon as the video was over I did it to all of my fly lines. No more braided loops for me!
Nice and simple. Well laid out steps with pictures. Could Aquaseal be substituted for the Clear Cure Goo Hydro?
I feel stupid. Got some work to do tonight.
Good for sinking lines, but floating are going to sink due to weight of the loop end.
I have always done this, but before I whip finish, I tie a nail knot. Have you ever had any problems with your un-nail-knotted loops coming undone with big gamefish? (I’m assuming the answer in no, in which case I can stop tying nail knots).
And then the backside is a bimini just looped once or twice over the back loop, and a perfection loop slipped over the front? Thanks for an awesome post.
i just use some leader material to tie a nail knot over the loop
Just a note, if you’re using super glue I’d use non-water soluble iterations. The standard stuff is water soluble.
You can also make a loop, shove it in a pen cap and “weld” the tag end and line end together with a hair straightener.
I go with the weld
Just another reason why I need to get some CCG!
Hey Kent, I’ve wondered for a while about doing this to some lines. My biggest concern is that the loop won’t float. What has your experience been?
Hey Kent, you very precisely explain the DIY FLY LINE LOOP..This is what I was looking for! Thanks!
Pingback: Leader 911 | Fly Fishing | Gink and Gasoline | How to Fly Fish | Trout Fishing | Fly Tying | Fly Fishing Blog
What’s whip finish? TIA.
A whip finish tool is used to tie off a fly that one is tying in a vise. There is a bit of a learning curve to using it. Honestly, I don’t think it is worth learning just for implementing the technique described in this article. You would be better off using a nail knot.
Thanks for the info
Will this work on floating lines or will it add too much weight to stay afloat?
Pingback: 3 Options For Attaching A Leader To Your Fly Line | Fly Fishing | Gink and Gasoline | How to Fly Fish | Trout Fishing | Fly Tying | Fly Fishing Blog
I use a very thin coating of aquaseal wader hole repair. If applied sparsely it will float..
Pingback: DIY Fly Line Loop | MidCurrent
The bright wrap can/will attract barracuda, especially when zipping through the salt behind a tarpon or bonefish. It happened to me!
I just made a pair of Euro Nymph cheaters from some old running line I had laying around using your method… I’m looking forward to trying them in Montana in a few weeks.
Wow – am going to have to try this method. Thank you!
I must try this method. Thanks