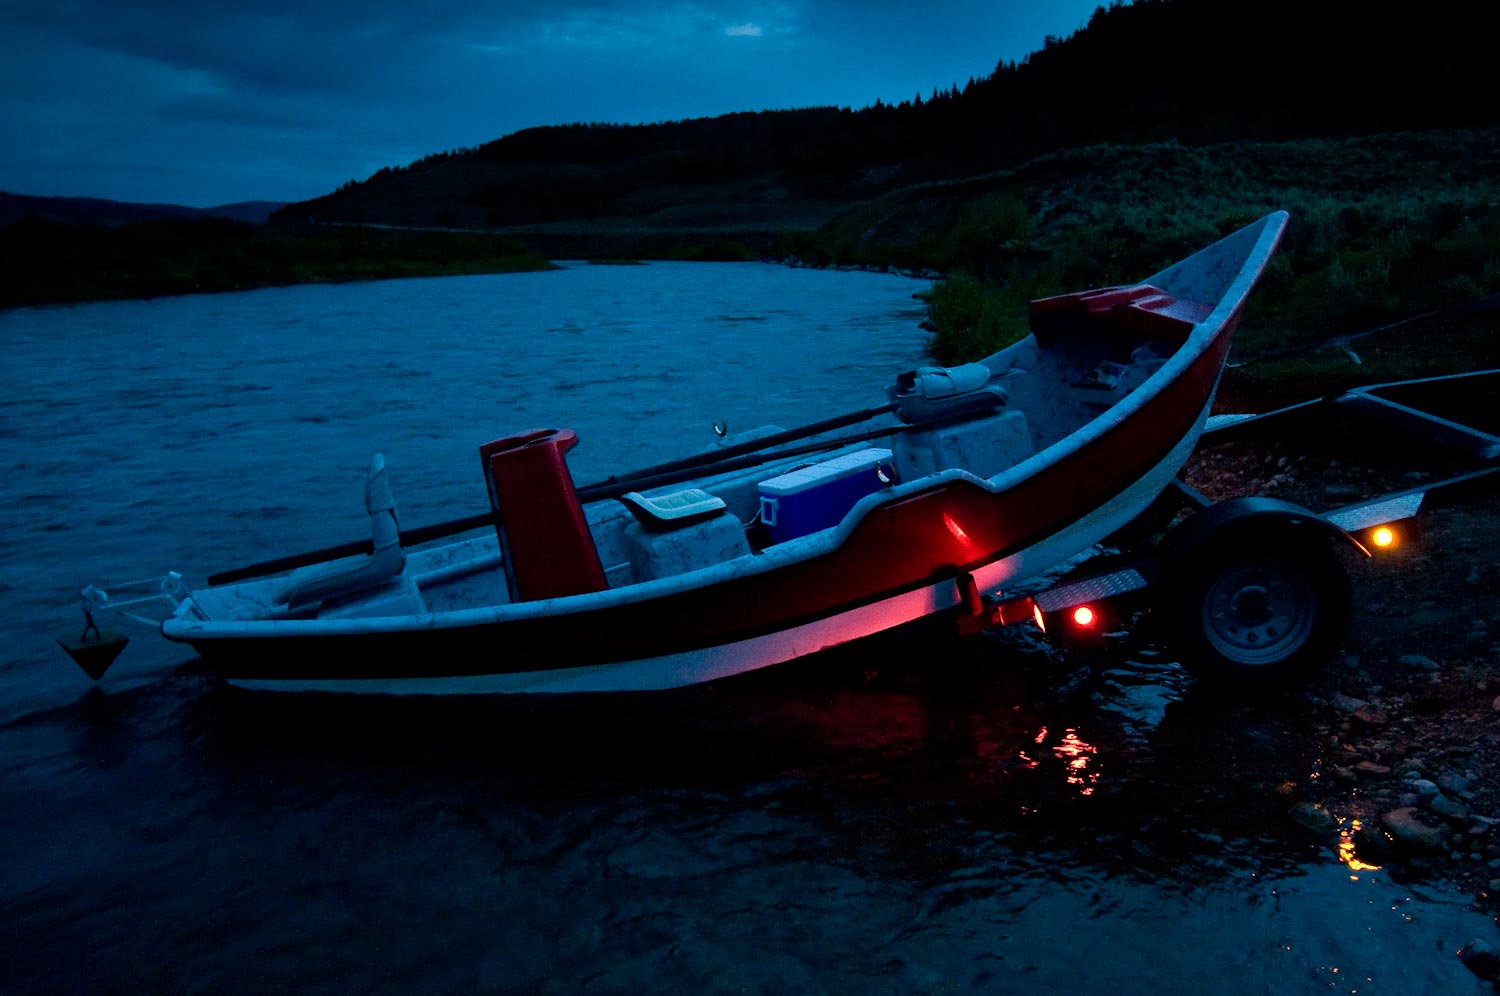
It’s no coincidence that when the light gets pretty, it also gets lower.
That is to say that like low water, there just isn’t much of it. Those early morning and late evening shots are beautiful but challenging. Low light means slow shutter speeds and, all too often, blurred photos. Here are some tricks I use to help beat the blur.
Check your ISO
Formerly known as ASA, the ISO setting on your camera adjusts the sensor’s sensitivity to light. Some cameras are capable of adjusting their own ISO. If yours is not, you will get better results by adjusting this setting for the existing light conditions. If you are in bright sun, a low ISO setting like 100-200 will give you sharper images with less noise. If you are in low light like dusk, a higher ISO like 400-800 will give you faster shutter speeds and minimize camera shake. Some high end DSLRs get good results as high as 3200. When you start using your ISO setting, it is important not to forget to readjust when conditions change. Eventually it will become second nature.
Use a fast aperture
The aperture, or F stop, controls how much light the lens allows into the camera. Faster, or wider, apertures (the ones with the lower numbers like 2.8) let in more light and allow higher shutter speeds. When light is low it’s best to select a faster aperture but be aware that your depth of field will be reduced. Pay close attention to your focus, you may have to choose what part of the scene you want tack sharp.
Get a good grip
The way you hold your fly rod effects you casting, right? The way you hold your camera matters too. Most people never stop to think about it but I remember being taught in school the proper grip for a camera. First off, all SLRs are right handed. If you’re left- handed, you will just have to get used to it. To properly support the camera, your left hand should be positioned palm-up and level and the camera — whether oriented horizontally or vertically — rests in your palm. Your left thumb and index finger curl up to the lens to operate zoom and focus features. Most cameras have an ergonomic grip on the right side that leaves your index finger ready for the shutter release, and thumb free for the adjustment wheel. Let the left hand support the weight of the camera. With large telephoto lenses it may be necessary to move your left hand forward under the lens for balance. With a good grip you will have a steadier camera and sharper photos. You will also be prepared to act fast when opportunity presents itself.
Know what you can hold
Hand holding a camera at slower shutter speeds is tricky and your lens choice makes a big difference in how slow you can go. Longer focal lengths require faster shutter speeds. Ever look through binoculars and notice how shaky the image is? The same thing is going on in your camera. Fortunately there is an easy rule of thumb to help you select a shutter speed. Look for the shutter speed with a denominator as close as possible to the focal length of your lens. So the average person can hand hold a 24mm lens at 1/30 of a second or a 300mm lens at 1/250 of a second or a 50mm lens at 1/60. These are averages, you may get by with a little more or less. Experience will tell you.
Get grounded
When you are trying to hold a camera steady you need a good stance. Be sure your footing is solid and relaxed. Don’t try to perch on rocks in fast current. When possible make three point contact by leaning against a tree or other stationary object. Kneeling can help too by taking your knees out of the equation. Don’t be afraid to put the camera directly in contact with a stationary object. A stool works well when heavy drinking is involved.
Relax
Tense muscles shake. Don’t put a death grip on the camera or lock your knees. Don’t try to sling your camera strap around your shoulder and pull it tight. A firm relaxed stance and loose grip is a much better approach.
Breath like a hunter
Long range shooters know the importance of good breathing. Prepare yourself for for the shutter release by first taking a few deep relaxed breaths. When you’re ready, take a deep breath and let it half way out, then squeeze the shutter release like it was a trigger.
Get some support
A tripod or monopod is the best way to get sharp photos in low light but you’ll seldom see me with one on the river. Carrying a tripod for a full day of fishing is just plain crazy. Fortunately they grow on trees. Find yourself a limb with a crotch suitable for making a slingshot. Break it off at the right height and rest your camera in the V. There, I saved you a couple of hundred bucks. If you can’t find a limb, wading staffs, push poles and even fly rods make pretty good monopods. Don’t be afraid to go MacGyver!
Try these trick next time you’re shooting in low light. I think you’ll see a big difference in the sharpness of your photos. If you get something nice share it on the G&G Facebook wall. We love to see your photos.
Louis Cahill Gink & Gasoline www.ginkandgasoline.com hookups@ginkandgasoline.com Sign Up For Our Weekly Newsletter!


Good advice – thanks!
Pingback: Tippets: Peace on the River, Low-Light Photography | MidCurrent