By Justin Pickett
No, not over my head into a cold river. Instead, I’m diving completely blind into my first fly rod build.
I’ve been interested in building a rod for some time, but the task has always seemed more daunting and tedious than I had patience for, leading me away from the idea. I’d still think about it from time to time, but I’d just always tell myself “Eh, I’ll do it someday.” I kind of likened it to fly tying. Initially you’d probably start out with a small kit and then graduate to new and more materials, or a better vise, if your interest in tying continued to develop. However, to me, it seemed as though there really wasn’t a great way to start “small.” Not mention the fact that I currently don’t have much room to place a rod jig or store rod building supplies. It could be that I’m just ignorant to more sensible and economical options that may be available, but, no matter, I still kept putting it off. Years have gone by, and I still haven’t tackled a build. I’ve checked off many other things on my fly fishing “to-do” list, which there are still many, but this one has made its way back to the forefront. If this sounds like you, then you’ll want to read on.
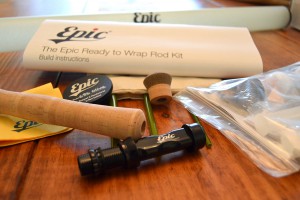 I finally decided that I was going to build a rod, and it didn’t take me long to figure out where I was going to start. Epic is a well-known name within the fiberglass world. They produce some amazing glass rods that have won the hearts of glass lovers the world over. Aside from building rods in house, and sending glass blanks across the globe, Epic also sells a “Ready to Wrap” kit. They advertise that, with this kit, they’ve “made the simply incredible — incredibly simple”, and I believe they’ve nailed it. They’ve taken the intimidating task of choosing the right items to build a fly rod and squashed it. On top of that, included is a detailed handbook filled with step by step instructions, as well as tips and tricks to help you along the path of building one of their amazing blanks, which range from a sweet 4WT on up to a wicked 12WT. It was a no brainer for me! Click. Ship. Done!
A week later my kit made its way across the Pacific and arrived at my doorstep.
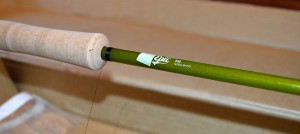
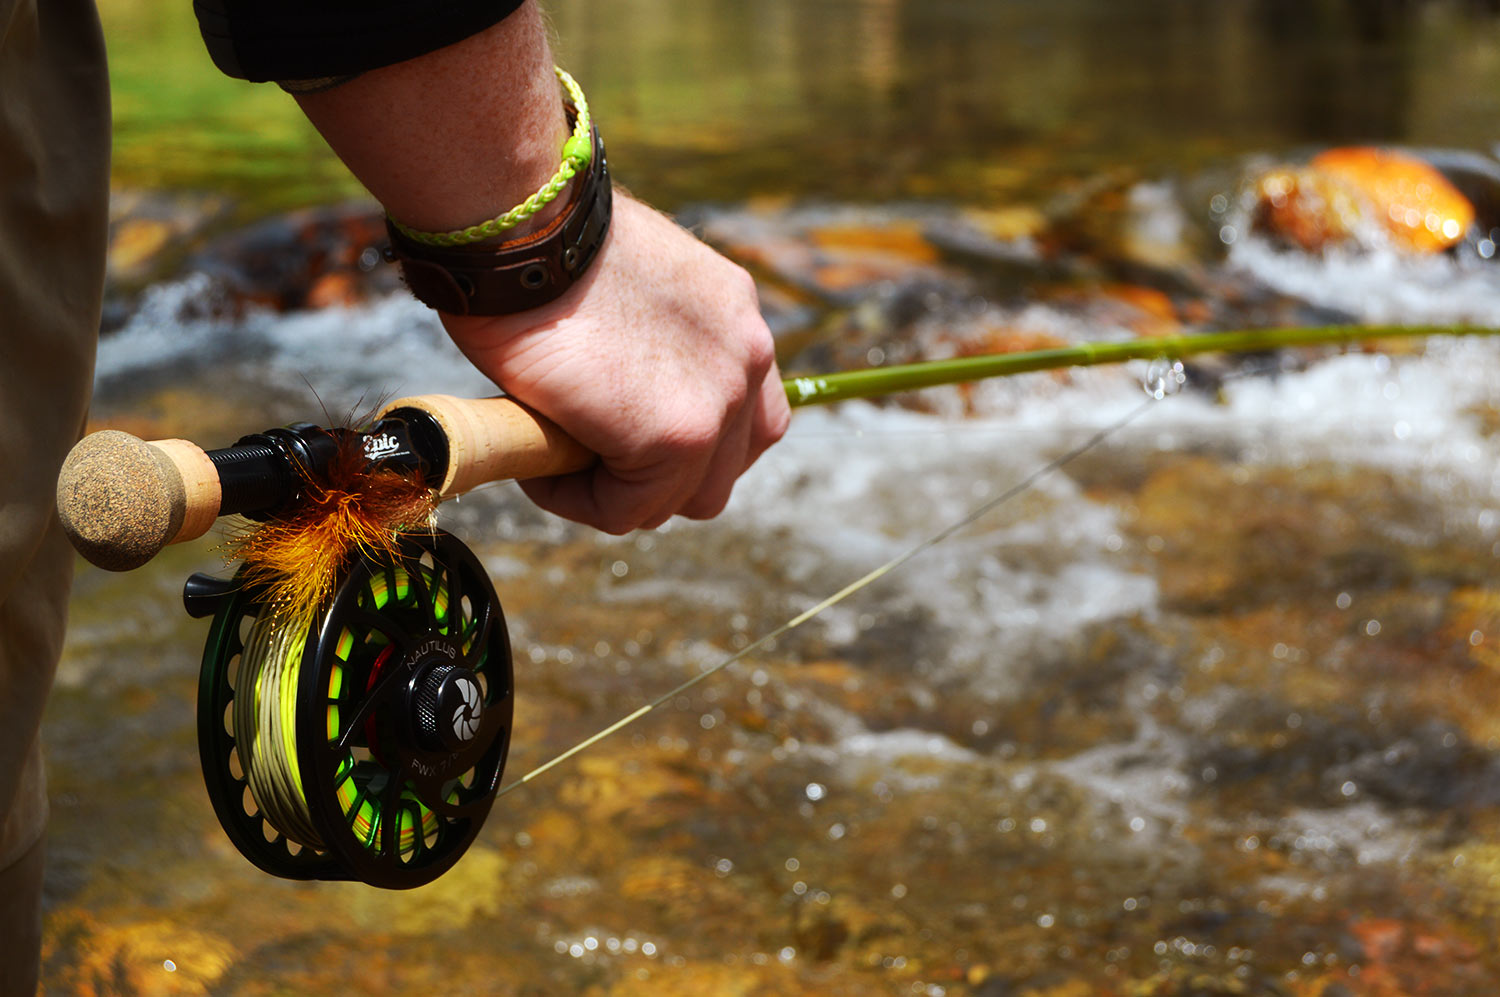
The big, bold “Epic” logo staring me right in the face! I couldn’t wait to tear into the box and start building immediately! Approximately 3.2 seconds later I was staring at a beautiful collection of quality components worthy of any rod maker’s studio. Everything was carefully packaged and placed within their own little compartments inside the box. The full wells cork was smooth and dense. Epic uses ¼” thick cork rings instead of thicker rings that most manufacturers use, allowing for less imperfections within the cork and a denser feel. The fighting butt is of the same grade cork, with the bottom half being made of a composite cork for durability and aesthetics. The triangular, black anodized reel seat is stealthy, and the up-locking ring glides effortlessly over the threads. Then there is the unique, natural fiberglass rod case that is capped off at each end with black, anodized aluminum.
The business end labeled with the “Epic” name and my choice of weapon neatly written in silver Sharpe- 686 Olive. Opening the case, I find a hand stitched rod sock filled with hollow tubes of gorgeous, sparkling, olive green. Fitting each furrell together, I find that the blank is straight, and the action (even while unfinished) is something awesome. Looking further into the box I find the handbook with instructions on how to repurpose the box as a jig, as well as a comprehensive kit that includes resins, brushes, mixing cups, mixing straws, rod guides, and silk thread. All of which are of the best quality you will find. One word came to mind — BADASSERY!
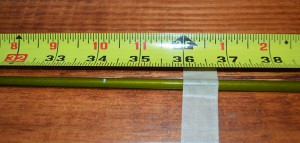 I chose to spline my rod as recommended by Epic. This process allows you to somewhat fine tune the action of the rod, which helps it track better along its path during the casting stroke. I won’t get into too much detail, as Swift Fly Fishing does a great job of explaining the hows and whys on their site, as well as the instruction manual. Using the provided Chinagraph pencil, I made my hash marks along the blank using the guide spacing chart that is found on Swift Fly Fishing’s website. I was able to use the spacing between the boards of my farm-style table to keep the rod confined as I used a tape measure to measure my spacing accurately. Just to ensure the rod would not move as I did this, I also used a few pieces of masking tape to secure it to the table. I would suggest at least taping the rod to a flat surface so the rod doesn’t move while you’re measuring, for obvious reasons.
Time to get this bad boy wrapped up!
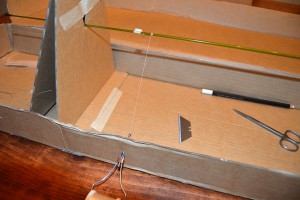 After giving the instruction booklet a good read, I mentally prepared myself to dive in and get this build going. I setup at my dining room table, which gave me ample room and plenty of light. The fact that I could build this rod almost anywhere was one of the best things about this kit. I was even able to put the kit away completely when I was away from the house, ensuring that my little one didn’t get curious and find her way into the kit. I imagine a three year old could find some amazing ways to repurpose things like epoxy and thread. Turning the box in which the kit was shipped into a jig was simply explained with a couple of diagrams, and was super easy to complete. Using a ceramic bobbin from my fly tying desk, I setup my silk thread by simply punching a few strategic holes into the side of the box, which allowed for gaining the optimal angles and pressures for wrapping the guides neatly.
I decided to start with the butt end of the rod first.
The kit comes with the reel seat, cork, and fighting butt all as separate pieces which gives you the option of placing a fighting butt on any rod you wish. Want a fighting butt on a 4wt? Just slap it on there! The option to customize is there. In fact, customization is a big part of the process. They offer several other colors for their blanks, such as Salsa, Amber, So Blue, and Nude, as well as other options for the reel seat and thread color.
You must dry fit all of the components of the bottom section first, taping off the blank in front of the cork. The cork is already drilled and shaped to fit the taper of the blank. Should you want one, the application of a fighting butt also requires that 5mm of the bottom of the blank be sawed off. Doing so allows the rod to fit in that sexy rod tube, so don’t forget this step! I was able to complete this task easily with an everyday fine-toothed hack saw.
The next step involves sanding, so the previously mentioned taping must be done in order to ensure that you do not ruin the finish of the blank above the area that requires sanding. Once you’re happy with the dry-fitting, a little sanding on the blank to prep for the epoxy application must be done. I used 120 grit sand paper, followed up with 220 grit to ensure a more uniform surface. To prep for the reel seat, a dam must be created to ensure the epoxy adheres the reel seat to the rod properly. I used masking tape (as suggested by Swift), but there are other options listed as well. When doing this, go slowly, constantly checking your clearance.
 You’ll wrap three, evenly spaced rings around the blank that should allow the reel seat to fit over them without being firmly snug. Make tiny adjustments. I was surprised at how much difference one wrap of masking tape made. Once this is completed, the epoxy goes on and everything is placed back onto the blank. DO NOT just set it and forget it! Make sure that everything is lined up correctly before allowing it to set completely! I stood this section of the rod up in the corner of my tying desk for a couple of hours to make sure the epoxy had plenty of time to set completely.
Now comes the fun part. Now you get to stare at your beautifully crafted, shiny, awesome, badass butt section while you start the rest of the build.
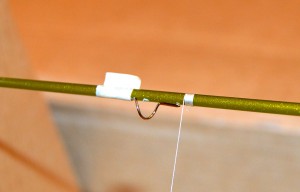 The next thing that I completed was the tip top. Using the 5 minute epoxy and a toothpick, applying it to the tip of the top section is a piece of cake. Just make sure that it is aligned with your guide marking and have some denatured alcohol on a rag to wipe away any excess glue. Now, on to making wraps…. Let’s step back. Making pretty, uniform, quality wraps takes practice and will likely give you freakin’ fits in the beginning of your build. Swift suggests that you practice your wraps before you begin your build to avoid some of the frustration. I, however, did not do so. It was trial by fire for me, but hey, that’s what I do!
I had to re-wrap a few of them along the way, but by the end of the build I was picking it up pretty well. Find out what pressure you need to apply to lay an appropriate wrap without the wrap being too tight. You want the wrap to hold the guide foot firmly, but not so firmly that the thread cannot be manipulated to some degree. You’ll need that little bit of wiggle room when it comes time to burnish your wraps.
 You’ll likely need to adjust your bobbin a couple times and make a few more holes along the side of the box. By the time I was finished I had made several holes along the side of the box in order to make sure I had the best angle to wrap each guide. I also found that, once completing a wrap, I was more successful at keeping a wrap together if I taped the silk tag to the blank while I was wrapping the others. If I didn’t pay attention, I would sometimes screw up one of the wraps that wondered into the “V” of the cardboard. The tape would help keep things together, however it is best to prevent this from happening by adjusting and moving your bobbin accordingly.
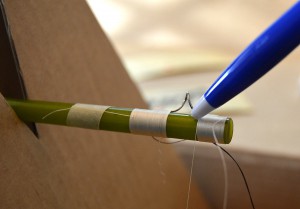 Once I finished wrapping all of my guides I simply cut the tags with and I was able to burnish my wraps to get rid of any unwanted gaps or overlaps that went unnoticed initially. There isn’t a burnishing tool in the kit, but a Bic ball point pen will work just fine. When all is said and done, and you have all of your wraps completed and all tidied up, you’ll be ready for the final step.
Before sitting down to begin mixing your coats of resin and applying them to your wraps, make sure you have the time to do so.
For one, you don’t want to rush through any part of the build process, but doing so while adding epoxy to your wraps can get messy. You don’t want to get resin all over the blank. It’s messy and a pain to clean up while your wraps are drying. Make sure that you have some denatured alcohol at the ready before you start applying epoxy to your rod! Also make sure to apply your coats of epoxy by starting on the outside of the wrap (furthest away from the guide foot) and then work it to the guide in order to prevent air trapping.
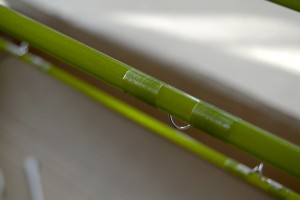 One tip that Swift suggests in the handbook is to heat the epoxy to thin it out and make it a little easier to work with. I found that this did help with adding an appropriate amount of epoxy to the wrap. It was easier to spread across the wraps as well, and prevented me from applying too much epoxy which would sag on the bottom side of the blank. If you do notice that you have applied too much resin, and it begins to sag, I found that the most effective way to correct this was by placing a brush just on the surface of the sagging epoxy and roll the brush in your fingers. This will pull some of the epoxy away from the blank without causing a big mess. The epoxy is self-leveling so there’s no need to brush the epoxy onto the wrap. I simply made sure that there was good coverage to the wraps and rotated the blank every 2-3 minutes to ensure an even distribution. You’ll likely have the hang of wraps and epoxying by the time you’ve finished your first section, and at that point you’ll just need to repeat these processes until you’ve wrapped up every section. I decided to wrap and epoxy my winding check last, kind of as the last hoorah, but this can be done at any time after the butt section has been epoxied and had time to cure.
Once all was said and done and the epoxy was cured, I could only stare at those translucent wraps showing the shimmer of the chromed guides and the olive blank beneath, along with the finished butt section with its flawless cork. Swift Fly Fishing makes sure to mention in the handbook that the rod should be allowed to sit for a full 12 hrs to set and at least 24 hrs before casting. Well, I’ll admit that my inner child might have fudged a little on that whole “24 hrs before you cast” suggestion. I could only compare it to waking up Christmas morning to a room full of presents but being told you could open them until the next day. It’s sheer torture!
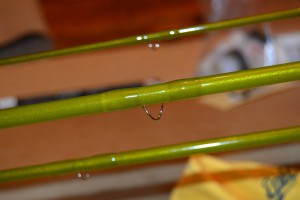 Overall, the build process was completed in the neighborhood of 24 hrs (spread out over a few days), and was an absolute joy! Watching this rod come to life, wrap by wrap, brought a smile to my face. Fishing with, or even just casting, a rod that you’ve built yourself is like the feeling you get when you catch a fish on your first hand-tied fly. It’s truly gratifying and evokes a sense of pride. The kit that Swift Fly Fishing has put together is indeed something genius. They took a process that I thought would be no less than frustrating and made it simple. The components are amazing, the handbook and instructions are extensive, and the convenience of having everything you need in one kit (completely taking the guess work out of the equation) is awesome. The hardest thing about this process may be choosing which blank to build, as they are all acclaimed. To say that I’m completely smitten with this kit and this rod is an understatement. I can’t wait to start my next Epic build…..SOON! If you’ve been thinking about building your own fly rod, I can’t recommend this Epic Ready To Wrap kit enough!
Let Swift take your fly fishing freak-ness to the next level!
Not only will you have built your first rod, but you will have one amazing fly rod that will no doubt become one of your favorite sticks!
Justin Pickett Gink & Gasoline www.ginkandgasoline.com hookups@ginkandgasoline.com Sign Up For Our Weekly Newsletter!

Building a rod is very satisfying. Having tied flies for years, then building furled leaders the natural progression for me was building a rod. My build was a 6 wt Switch rod from a Batson kit. Unless you intend to build multiple rods I would just use the cardboard box jig. My first Great Lake Steelhead on my hand built Switch rod is a wonderful memory. In my later years I look forward to being able to pass on the rod to my sons as I know it will hold a special place for them as well.
Thanks for the comments Gregory! I thoroughly enjoyed this build. It has been the tool that I’ve used on so many memorable occasions already!
A couple years ago I made a “father & daughter” project of building a fly rod. Lots of great memories, plus she took the plastic off the grip after landing her first trout.
That’s what it’s all about!
I am pretty new to fly fishing so I just jumped right into building the rods, out of about the 8 rods or so I use, 6 of them have been built by me, there is a lot of satisfaction that comes from successfully casting and landing fish on your own build. You forgot the best part about building the rods though, making your own cork patterns and shaping it precisely to fit your own hands!
I met a guy in Cheesman Canyon last week with that same rod, and it was beautiful. Doing the wraps sounds like a bit of a drag though.
It is a sweet rod. The wraps are a little challenging at first, but honestly once you get the hang of it it’s not that bad at all. Just gotta take your time.
I have been building rods since 1976. It is much easier to amass the materials now, and there are so many more options. While not necessarily less expensive, it is powerful to fish a rod you made yourself. I am currently working on a tfo mangrove 8 wt and a rainshadow eternity 10wt…looking forward to redfish, trout, and bonito!
How did you go about drying the epoxy and finish? Are you supposed to spin them while they dry or can that be overlooked? Lots of forums point out that the epoxy will kind of drip and pool if the are not spinning. Just wondering if you found a way around that or if I really do have to buy a drying motor?
I want to know how to make my own rod