Stretch Thy Fly Line
Are you looking for more a little more distance in your fly cast? Is your fly line not shooting through your guides as easy as it should? Is it lacking that fresh from the box high floating buoyancy? Are you spending more time untangling your fly line than fishing? If your answer to any of the above questions is yes, you should think about taking a couple minutes before hitting the water to stretch your fly line out.
Read More »Better Highsticking Video
When fishing nymphs, highsticking is a fundamental skill that every angler needs.
The best way to achieve a drag free drift, when nymphing, is to use a technique called highsticking. Highsticking keeps your line completely off the water, eliminating any chance for drag. When done properly, it not only gives you a perfect drift but also puts you in a good position to make a fast and effective hook set.
There are a couple of key things about highsticking, which beginners frequently miss. The first is the mend. When you cast your flies upstream, it’s important to make a good initial mend that moves your Indecator. Many anglers are conditioned to be fearful of moving their indicator when mending but on this first mend its crucial. By moving the indicator upstream you are taking the tension off of your flies and allowing them to sink much faster. This puts you at your desired depth for your full drift.
It’s also important to keep the angle of your rod low enough that you have an ample range of motion to set the hook. Making the perfect drift doesn’t help if you have no where to go when the fish eats.
Highsticking isn’t just for nymphing. There are plenty of times when highsticking dry flies or dry dropper rigs is very effective. It’s a great skill to have.
CHECK OUT THIS VIDEO FOR MORE TIPS ON GETTING THE PERFECT DRIFT.
Read More »Standing in the River Carrying a Torch
Standing in the River Carrying a Torch
A different kind of love story.
Men and fish parted ways a long time ago. You couldn’t call it an amiable divorce. The fish got everything. The mountain streams, the lazy winding rivers, the deep blue sea, everything. Men had to pack their bags and crawl, with their heads hanging, out onto the land and they were not happy about it. They learned to breathe air and walk on two legs but they never stopped dreaming of swimming in the dark oceans, nor of the long and lovely fish that had sent them packing. They thought about fish all the time. They made their homes near the water and lurked around the shore, peering into the depths. Men wondered if the fish ever thought about them. Probably not. They saw fish from time to time, sliding gracefully through a pool or leaping a waterfall. They seemed happy. They seemed to have moved on, forgotten about men altogether. Men knew they should be happy for the fish, but they weren’t. They were bitter and moody and often cried at night. Men invented alcohol and that helped. It didn’t take their mind off of fish but liquor is a good listener and it doesn’t judge or mind if you cry.
“Who needs fish, Fuck ’em”, men decided. They turned their back on the water and went to the woods and found animals and for a while it took their mind off of things. They stalked and chased and laid in wait and for a while the pretty little deer were fun, but in time those big black eyes just seemed empty. Men had nothing to talk to deer about. Try to explain to deer about the ocean, about gliding through the waves, your body taut and glistening, one with the current. Deer don’t understand what it feels like to rocket up from the depths and break the surface, breaching in defiance of all things that would have you, only to disappear back into the depths. Deer don’t know anything. Eventually these encounters became bitter and joyless. There was no more stalking and chasing, no more lying in wait, just that vapid look in the headlights and the thud, thud under the wheels. Again, men found themselves staring at the water.
Men decided that if they couldn’t swim, they would fly! “Let’s see fish do that” they thought. They made airplanes and took to the sky. They soared and swooped. They glided through the clouds but when they looked down, there was always water. They built better planes. Planes that would take them higher and farther
Read More »I Love The Bahamas Photo Essay

As the weather cools off, I can’y help but think about bone fishing in the Bahamas.
Temperatures are dipping into the bearable range here in Georgia. I’ve been spending a lot of evenings and mornings on the porch and I know I should be looking forward to crisp fall days and brightly colored leaves but my mind keeps drifting to the Bahamas. Even though winter is the best time for trout fishing here in the Southeast, and I will take advantage of it, it’s also the time of year I leave all that worries me behind and spend a little time in my happy place. The flats of the Bahamas.
Nothing makes me happier than leaving the soggy cold weather behind to soak up some sun, swim in the ocean, drink a little rum and stretch some fly line, with the help of some eager bonefish. These days those trips also mean the opportunity to connect with friends who come along year after year and to meet new friends who are just discovering the salt. It’s the high point on my calendar.
The Bahamas recharges my batteries. The sun warms my days and the bright smiles of my Bahamian friends warm my nights. My stress washes away and I forget the world as I focus on the fish. I don’t think I could get through the winter without it.
THESE ARE A HANDFUL OF IMAGES I’VE TAKEN IN THE BAHAMAS THAT MAKE ME HAPPY WHEN I SEE THEM.
If you’d like to join me on one of my Bonefish Schools this year, there are a couple of spots still open, including a last minute cancelation for South Andros Nov. 12-18 . We’d love to have you. follow these links to get more info on Abaco and South Andros and G&G Hosted Trips, or email me at hookups@ginkandgasoline.com to reserve your spot.
Read More »Tenkara Steelhead
By Tim Harris
Can tenkara make one a better steelheader?
When I moved to the Pacific Northwest over 20 years ago I was thrilled to finally be living in the land of steelhead. The fish was almost mythic growing up in the Midwest and I’d spent a bit of time chasing them in the Pere Marquette to no avail. But now I was in the land where steelheading developed and even the flies got their names – patterns like the Skykomish Sunrise, the Sol Duc, the Umpqua Special, and the Macks Canyon.
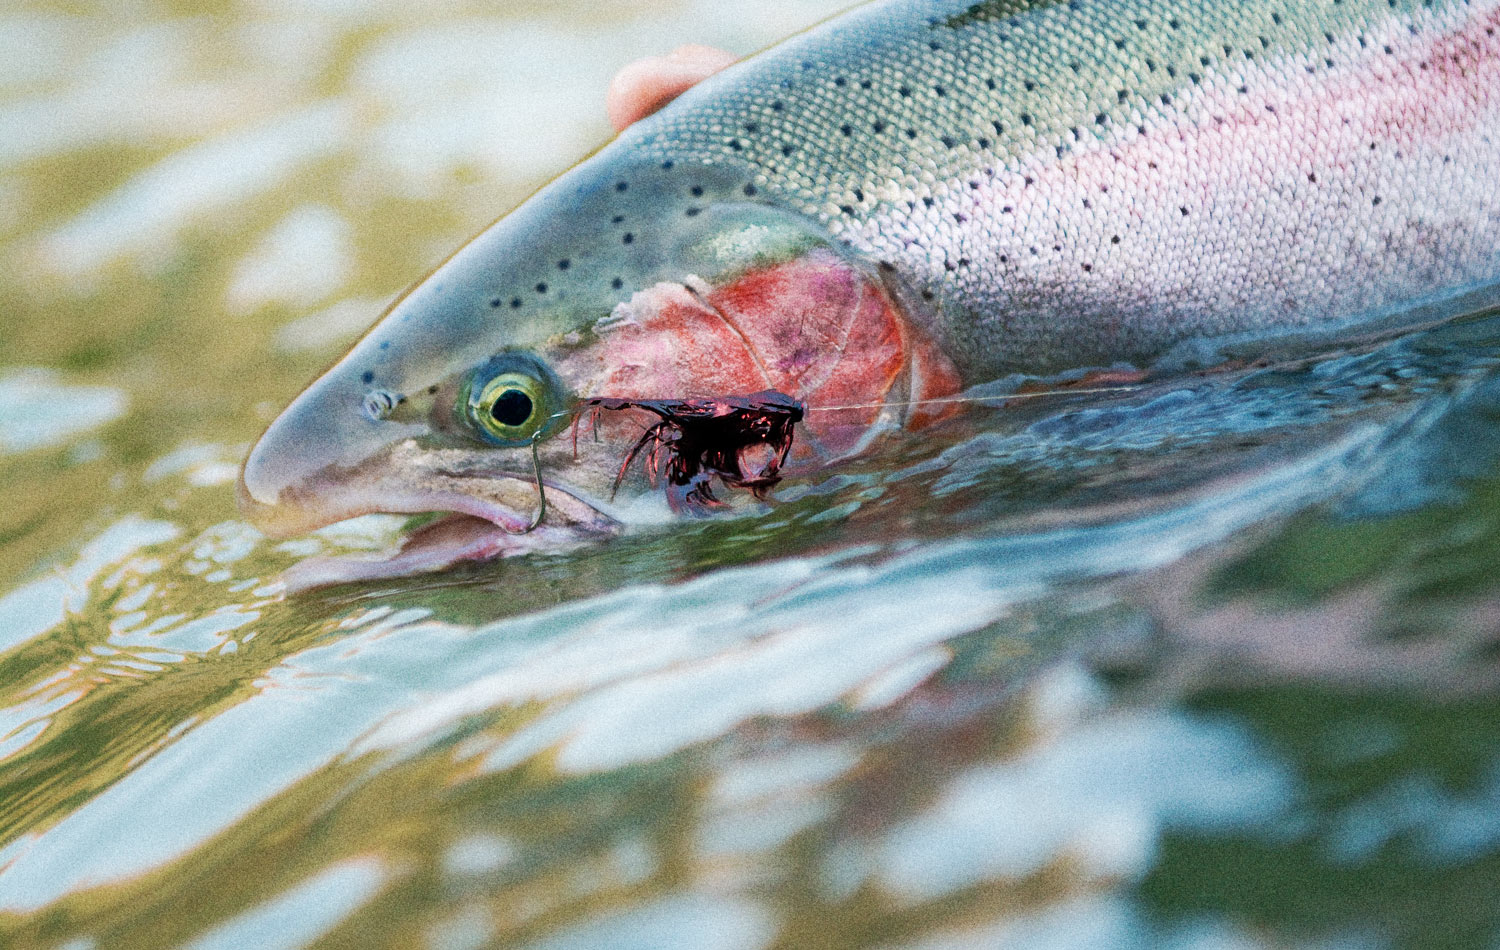
It took me a long time to catch that first steelhead on the fly and then I “cheated” by getting it on a nymph on the Deschutes one fall. In fact, I got four steelhead in that one afternoon from the same run nymphing, which was crazy after almost decade with no fish. I guess I finally got payoff for the thousands of casts I’d made. After I got those first fish via nymphing out of my system I went to only swinging flies on spey and switch rods and I’ve never gone back. I used to get out a lot when our local river still had a summer run, and would get 2-3 summer fish per season there along with one on the Deschutes in the fall and maybe one on the Methow or Wenatchee when these opened up. Winter fish, however, eluded me for a long time. I finally got my first in 2013 on the Skagit, a beautiful wild hen of about 12 lbs. After that nothing, despite hitting our local rivers at least a handful of days each winter. Needless to say, my steelhead count was low, usually a handful of fish in a season with quite a few days spent on the water.
Then I took up tenkara and found that I could swing flies on the long tenkara rod for trout just like I swing flies for steelhead with a spey rod. With tenkara one has ultimate control over the swing with the sensitive rod and a relatively short amount of line. I often swing with a 20’ line which is a long line for tenkara but it allows me to easily mend, hold much of the line off the water if needed, or lead the fly in soft water to completely control the swing of the fly. I probably catch the majority of my trout on tenkara swinging flies and it has become my favorite technique. Plus it is perfect practice for steelhead and an 18” rainbow on my Rhodo seems about equivalent to a 26” steelhead on my 6-weight switch rod.
Has all this swinging on tenkara paid off?
I think so. Last winter I
Let it ride
By Daniel Galhardo
DON’T RECAST YOUR FLY UNTIL IT’S HAD A CHANCE.
It takes some time to learn how to read water well. But, at least when it comes to fishing mountain streams, the concept is easy to grasp: fish are looking for food and shelter, and don’t want to spend a lot of energy looking for food. Currents bring them food, slow water and breaks in the current gives them shelter. With that in mind we quickly learn that seams where current meets calm water may be the best places to target with our flies.
Once we learn this basic piece of information, we all want our fly to land with 100% accuracy where we suppose fish will be. But, hey, sometimes it won’t!
In recent days I have been taking a lot of people fishing. Most were new to fly-fishing and to tenkara. After giving them some basic instructions on how to open the rod, how to tie the line to the rod tip and tippet to the tenkara line and then tie the fly onto it, I would teach them how to cast.
It’s been said that anyone can learn how to cast with tenkara in a matter of minutes. I have found that on average it takes 7 or 8 casts to learn how to cast with tenkara fairly well, and I’m not exaggerating. But, like anything, it takes time to get the tiny fly to land exactly where they want. If I had to guess, I’d say that in the beginning about 70% of their casts will land in the vicinity of where they wanted. Perhaps 25% will land just off the target zone. And, of course, about 5% will land on the trees in front or behind them, but that’s a different article for a different day.
The 25% slightly off-target casts is what I’m interested in making a point about. Actually, it doesn’t matter if it’s 25%, 50%, or even if you’re
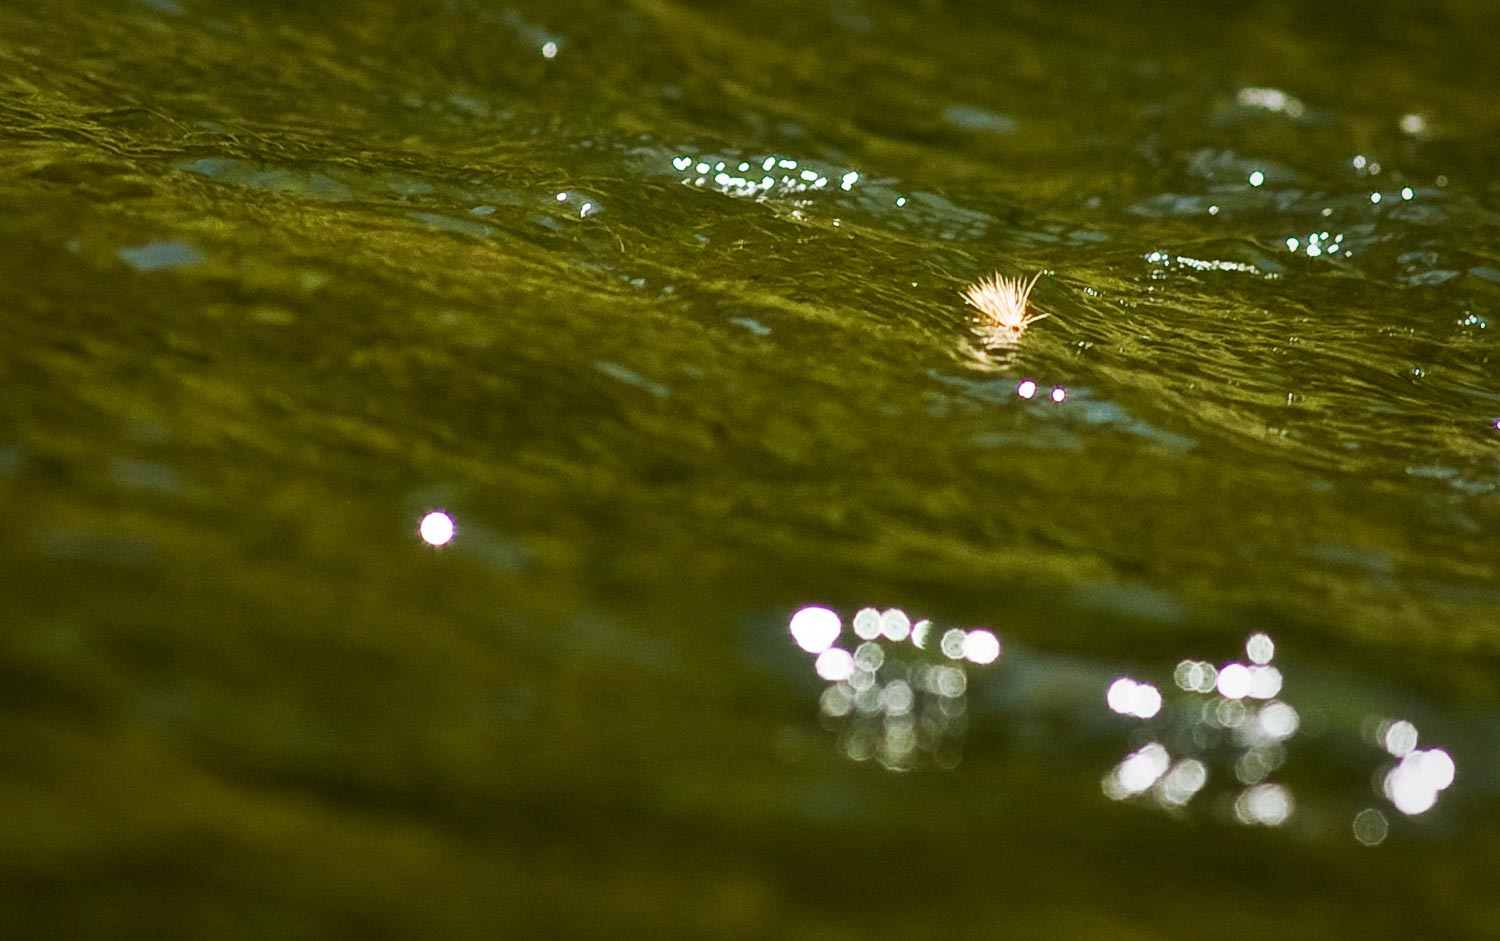
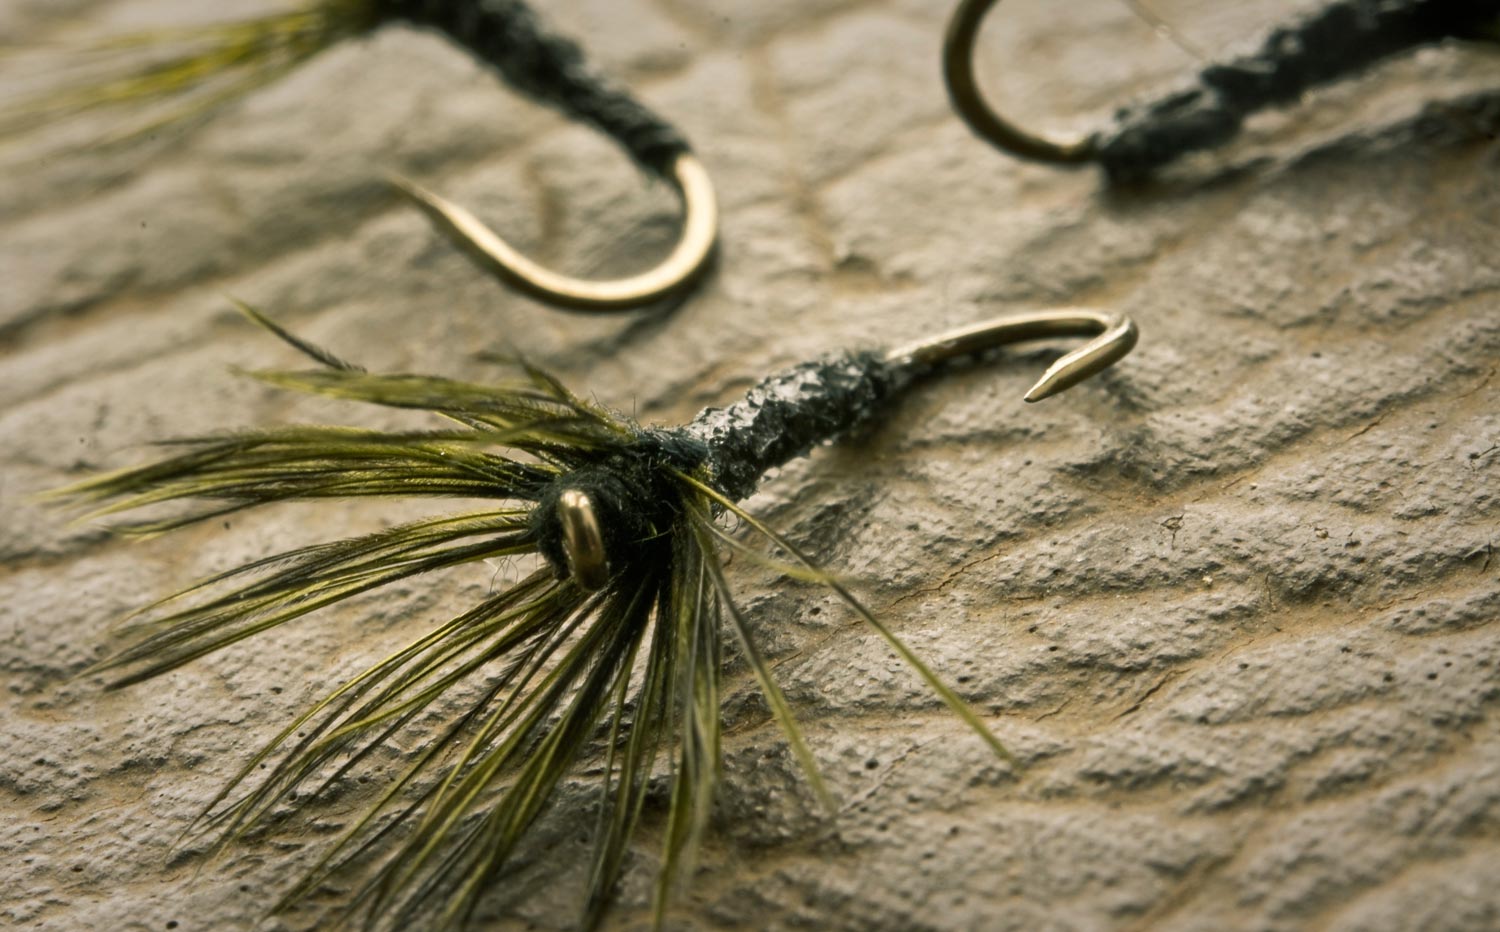
Read More »Tenkara Fly-tying
I initially got interested in fly-fishing because of flies and fly-tying.
The idea of creating a lure using feathers and thread was very appealing to me. Before I ever got my first fly rod I probably tied well over 100 flies. Of course, I got indoctrinated in the western fly-tying school, that of trying to imitate, at least somewhat closely, the insects that lived in the waters I fished. Then, I discovered tenkara. When I first discovered the method I saw in it just the idea of using a rod, line and fly. For my first year of tenkara fishing I continued using the western flies I had learned to tie: parachute adams, elk-hair caddis and some cool mayfly nymph imitations. And then I started learning tenkara from the people that had been doing it for decades in Japan, and I started paying closer attention to their flies.
TENKARA FLIES OPENED UP A BRAND NEW WORLD FOR ME.
Sure, tenkara flies, called kebari in Japanese, were still supposed to fool fish by somehow looking like the insects those fish ate. While not all tenkara flies look the same, the most characteristic tenkara flies are the so-called sakasa kebari, or “reverse-hackle fly”. To a western fly angler they will look more like soft-hackles but with the hackle facing away from the bend of the hook, reversed. This reverse hackle style is very popular and has become my preferred style fly to use. With it, when I’m fishing in moving water the fly will always retain some profile to it rather than becoming a sliver and “disappearing”. I can also impart motion onto the fly, with a light pulsating of my rod, the fly will open and close and look very buggy.
Just like I got into fly-fishing because of flies and fly-tying, I can say that the tenkara flies and what they represent certainly had some impact on my interest in tenkara too. Tenkara flies show us the different approach of suggesting bugs rather than trying to imitate them. They also bring with them the philosophy of using any “one fly” (not changing flies nearly as much as we do in western fly-fishing), and the idea of tying the simplest fly you can get away with. How I wish I had known about tenkara flies when I started learning how to tie flies (my first several hundred flies I tied by hand, without the use of a vise.
TENKARA FLIES SHOW US HOW SIMPLE FLY-TYING CAN BE.
Here are two videos I think people should watch to learn about tenkara fly-tying
Read More »Tim Rajeff on Understanding Fly Rod Action
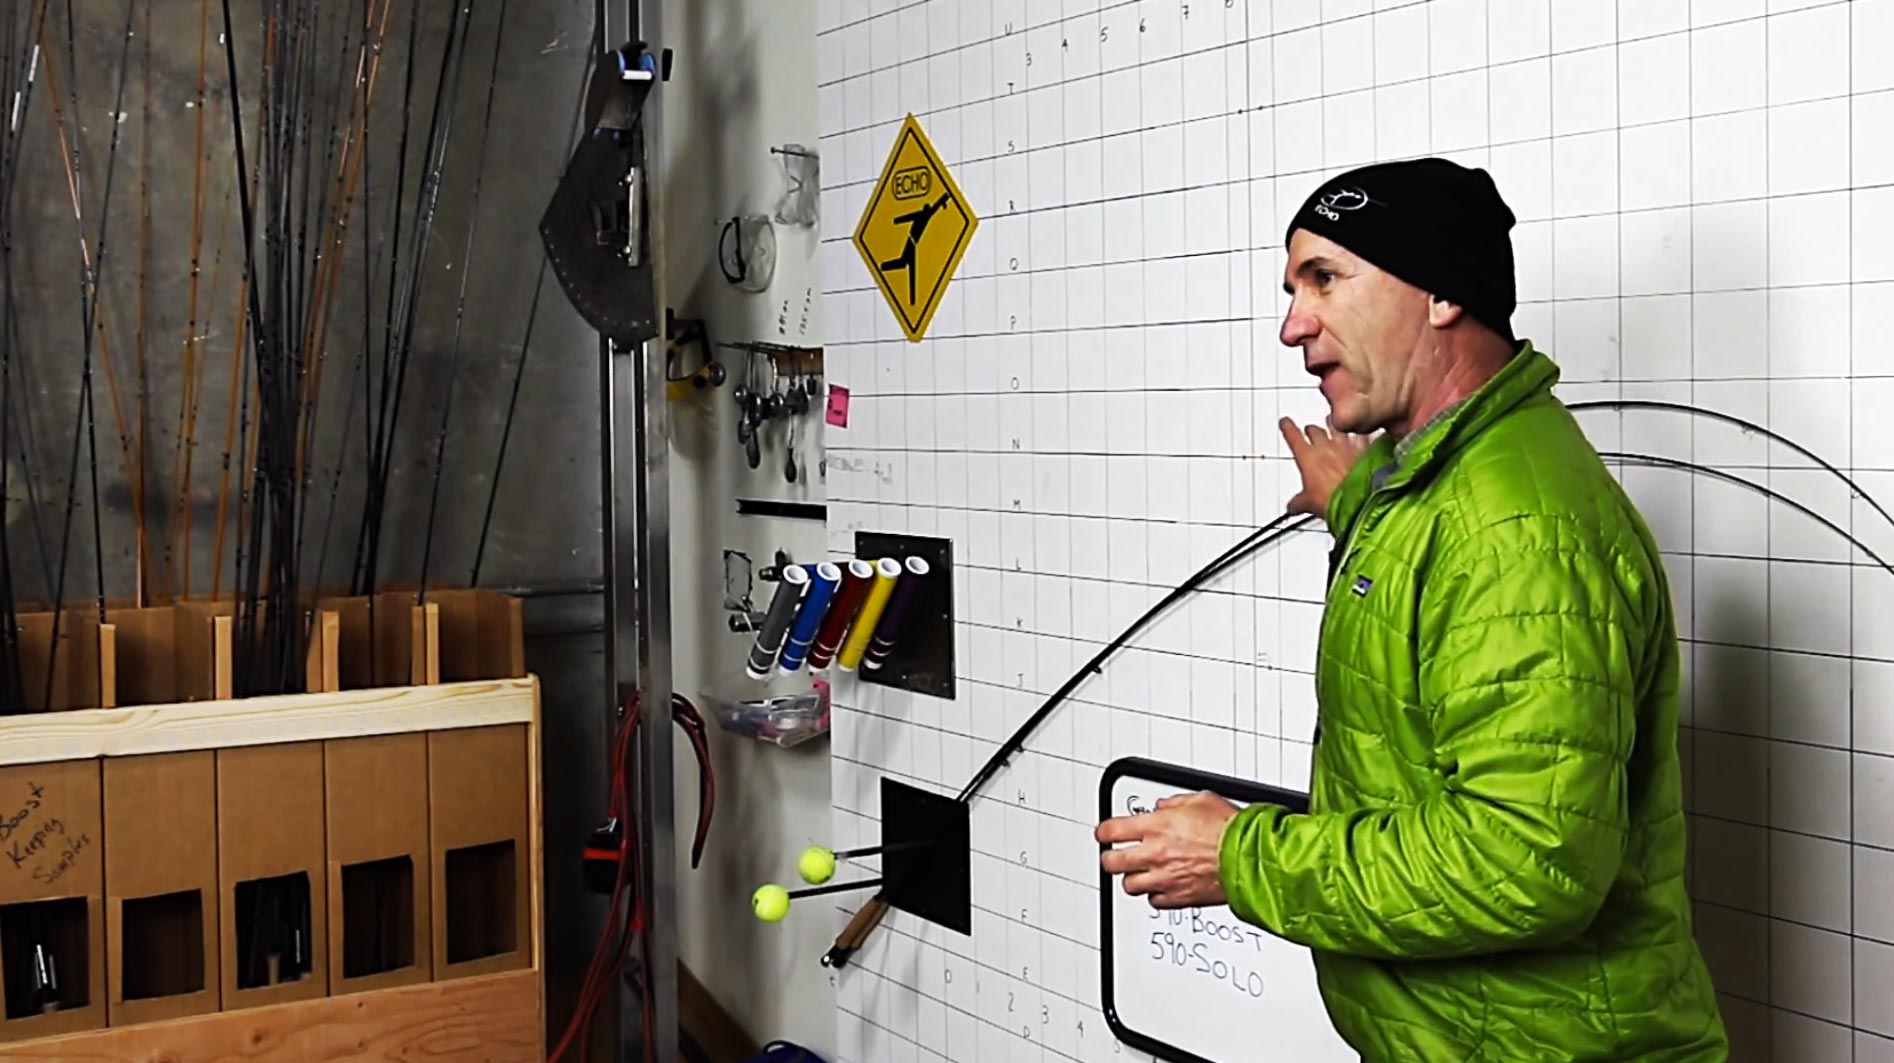
Fly rod action can be confusing, especially for the beginner.
Terms like fast and slow, tip flex and mid flex, which we use to describe the action of a rod can be vague to the uninitiated. When it comes time to choose a rod that’s right for your casting style and fishing application, too many anglers are just buying the rod with the best marketing.
Next week we are going to talk in depth about choosing the right rod and exactly how to go about doing it. Today, our buddy Tim Rajeff, owner and rod designer of Echo Fly Rods, is going to explain what some of the terms mean and how they apply to your fly fishing. He’s going to show you how rod designers fine tune their actions and discuss how weight and materials come into play.
WATCH THE 2 VIDEOS BELOW AND LEARN ABOUT ROD ACTION FROM ONE OF THE WORLD’S BEST CASTERS AND ROD DESIGNERS.
Read More »Getting Started In Saltwater Fly Fishing
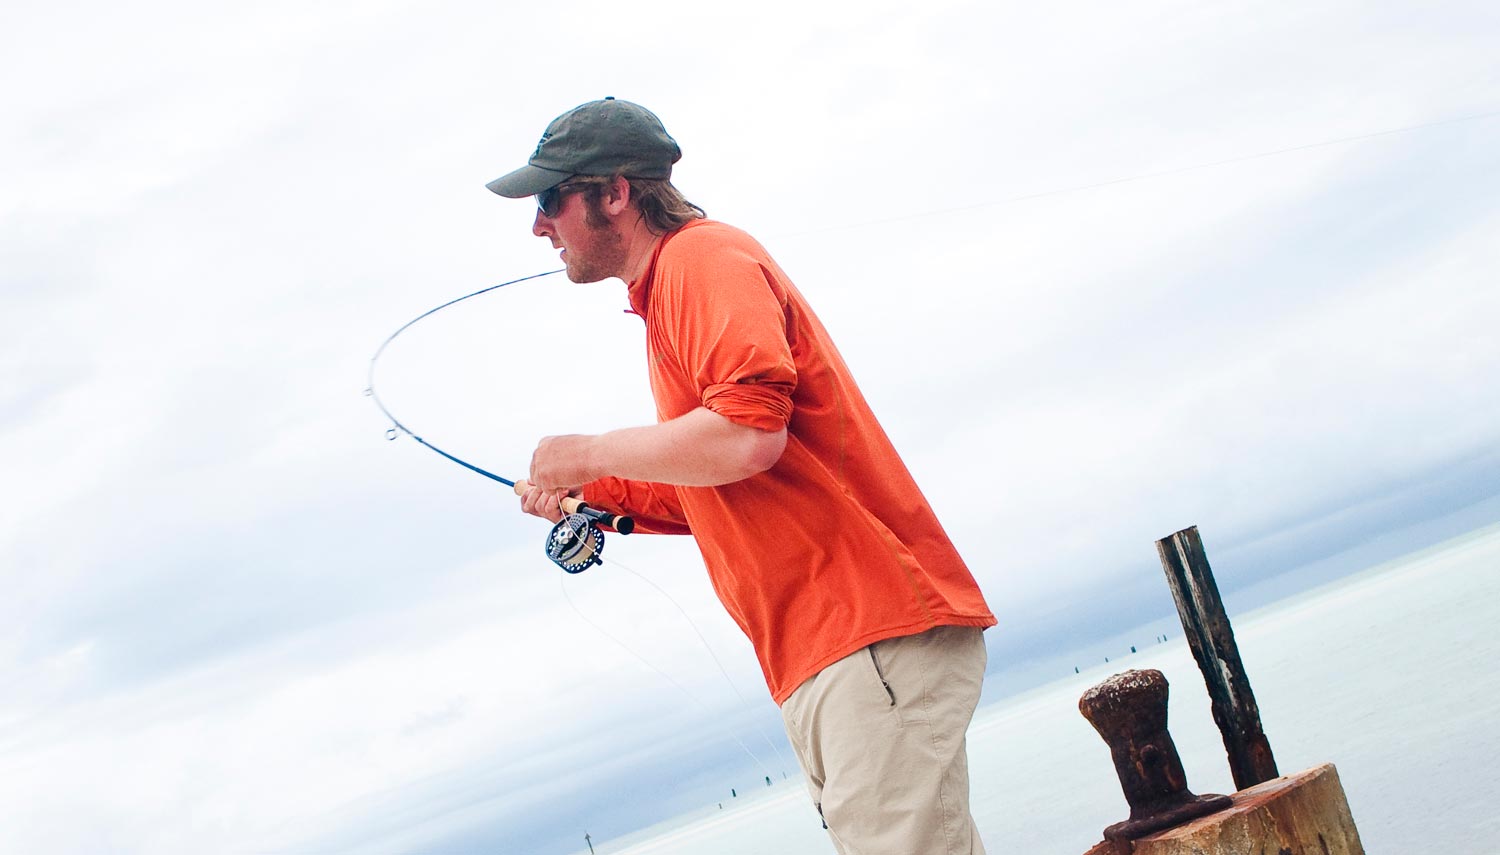
By Owen Plair
Saltwater Fly fishing is sort of like the X-Games of Fly Fishing.
Not only are you catching bigger fish in saltwater but the fish that you are targeting fight a hell of a lot harder than most freshwater fish! Whether it’s a 150 lb Tarpon doing the leap of faith oceanside off Islamorada or a GT ripping 100 yards of backing off in mere seconds off the coast of South Africa. There are tons of these kinds of species that make saltwater fly fishing seem intense but also desirable. Who doesn’t want to catch a bad ass fish on fly, sight fishing?
Now don’t get me wrong, I absolutely love freshwater fly fishing, and always will, because fly fishing is fly fishing, no matter what species of fish you’re targeting. Now I’m sure a lot of you have never done any saltwater fly fishing and that’s what this article is for– to get you started. Because after watching videos, reading articles, and seeing pictures, it’s time to make the move.
HERE ARE A FEW KEY THINGS TO GET YOU STARTED.
The number one thing is your cast. You absolutely positively need to learn how to Double Haul! There are tons of instructional videos out there but I always feel a good Casting School at your local fly shop or casting lesson will be the best. Before you make that move you’ll need to get your first saltwater setup. Saltwater rods have a very different action and you’re gonna need something to practice with.
I always recommend buying a 4pc 8wt rod with some kind of large arbor reel, basically a setup that will work for Redfish, Snook, Bonefish, Baby Tarpon, and many more saltwater species. These days you can get a pretty decent rod and reel combo for around $200-$300, which is a good way to start. I always
Read More »Skunked
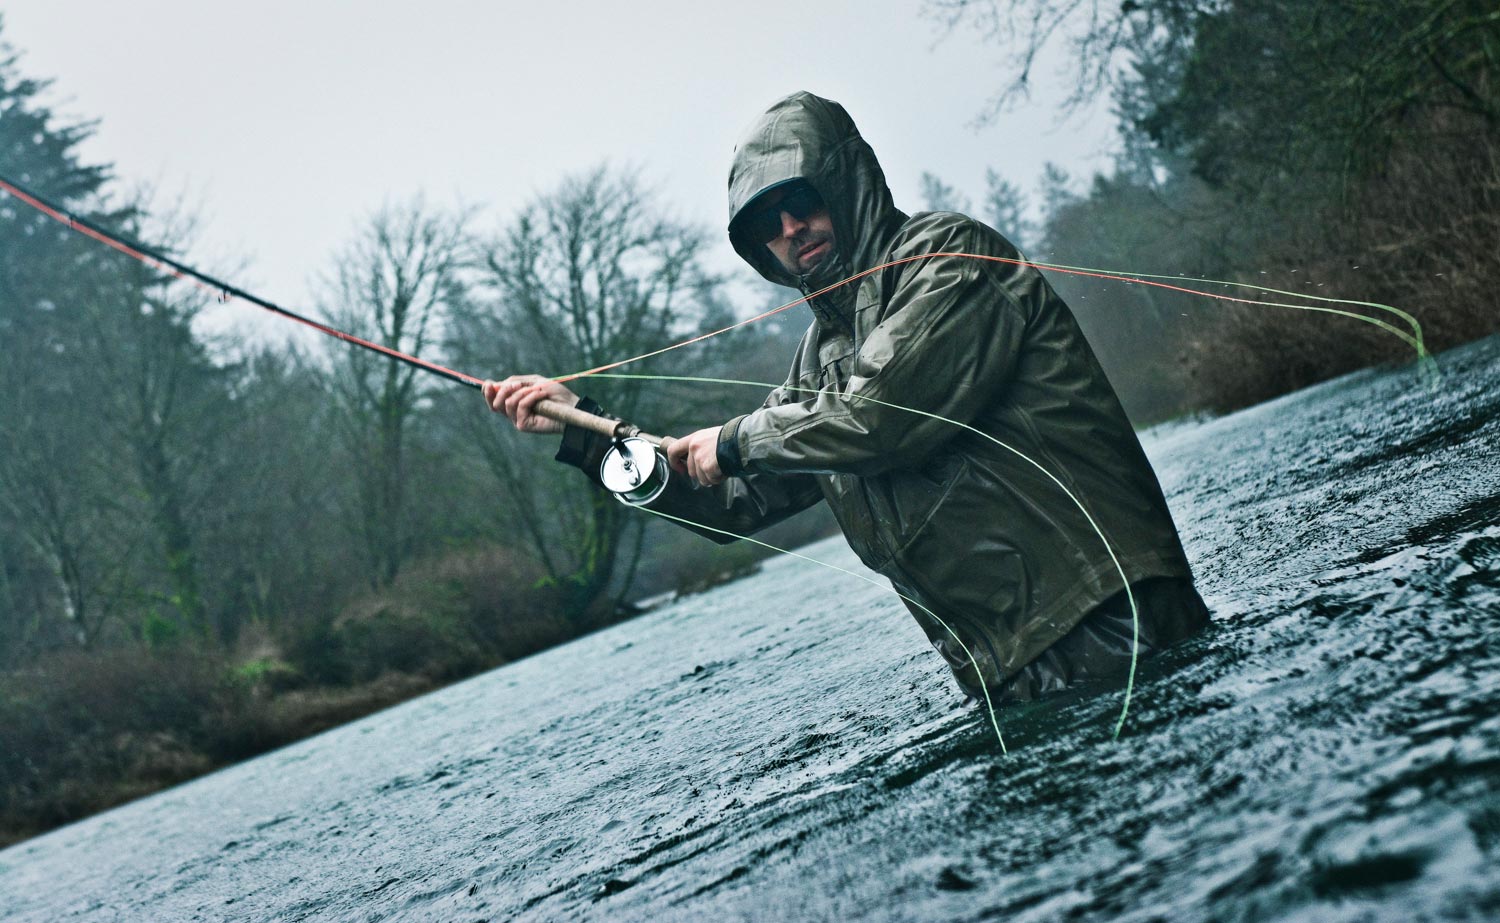
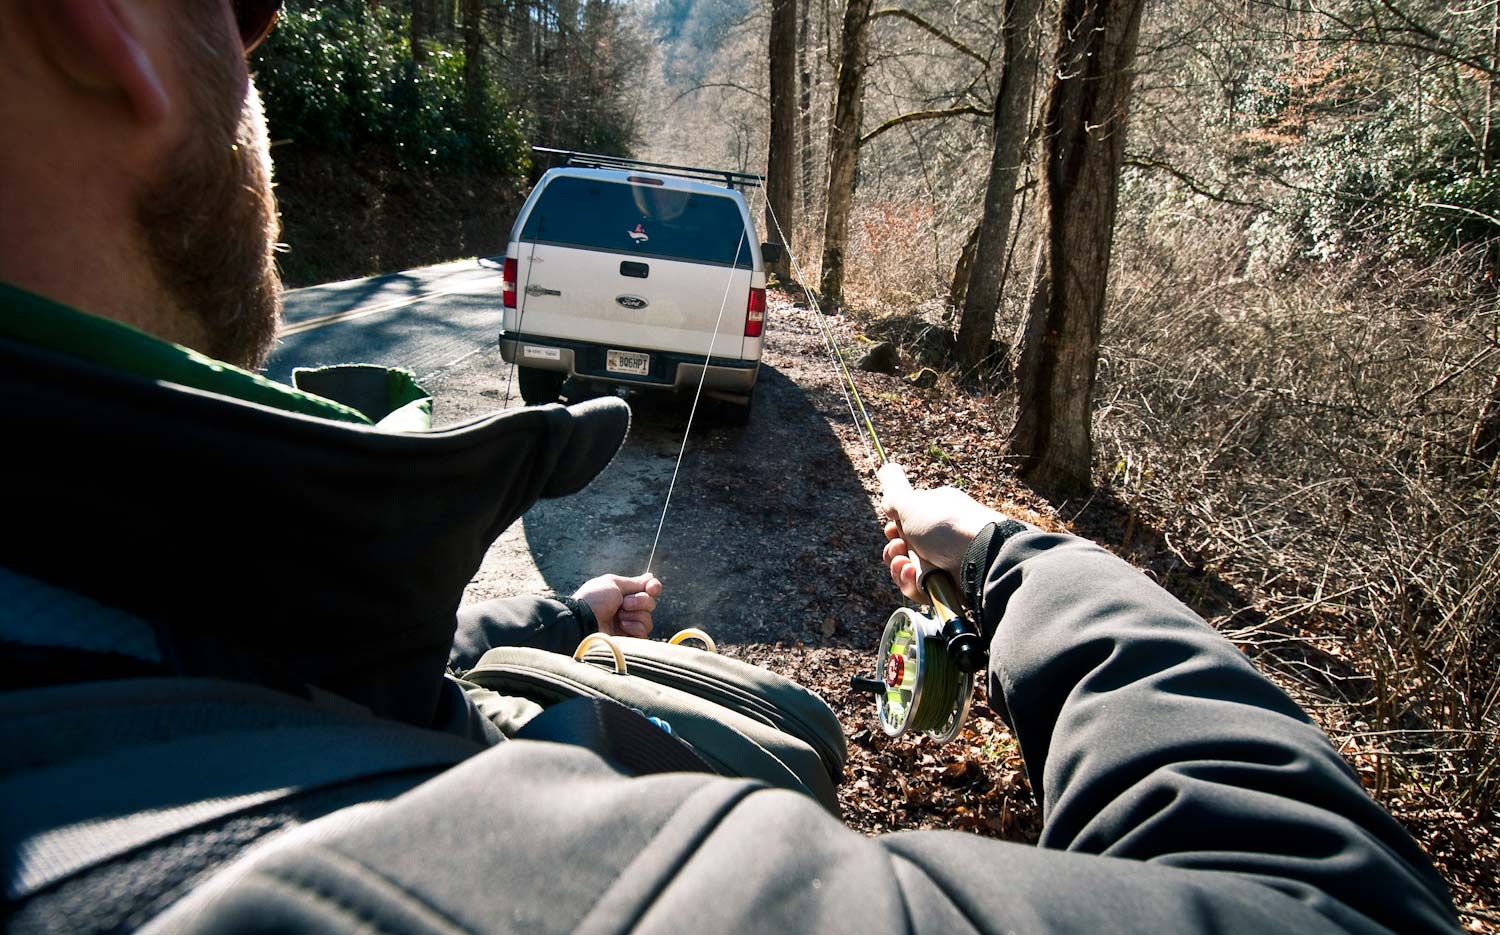
I POUR MYSELF A STIFF RYE WHISKY AND SETTLE IN ON THE COUCH TO WATCH THE RAIN. I’VE HAD THIS COMING TO ME FOR QUITE SOME TIME.
There are no steelhead rivers in Georgia, or anywhere near Georgia. For me to chase these fish I love usually means spending a minimum of five hours in a middle seat, both ways, and parting with a substantial chunk of the annual fishing budget. I do it every time I get the chance.
I cut my teeth on the tributaries of the Great Lakes, fishing huge garish glow bugs, but once I learned to cast a Spey rod and felt the pull of a wild Pacific steelhead the lake run fish didn’t scratch the itch any longer. There’s nothing wrong with those great fish, I had just moved on. Years later I find myself with a pile of two-handers and a suitcase full of frequent-flier miles. However geographically undesirable, I can’t give up steelhead.
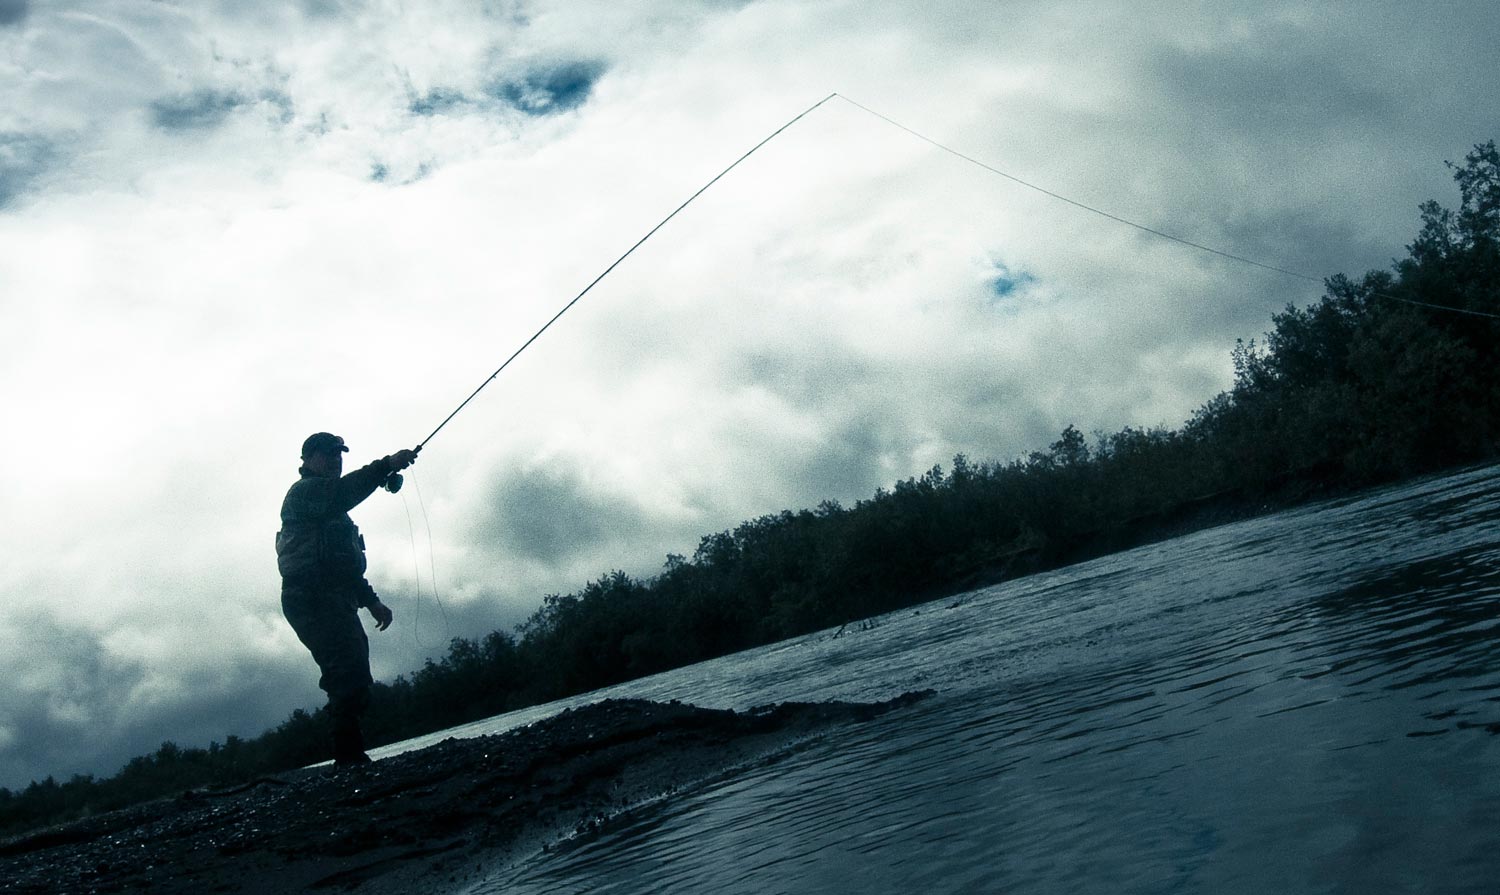
Let’s face it, swinging flies for steelhead is stupid. That’s to say that there are a hundred better ways to catch them. If catching fish is what you care about, fish bait. Ok. Please don’t fish bait but get yourself a box of beads or a handful of egg flies or marabou jigs and tear them up. The guys you see swinging flies are in it for something else. Even though I’m one of them, I’m not sure exactly what.
I can, and have, gotten very romantic about it but I’ll spare you for now. There’s just something about the whole process, the feel of the swing, the elaborate and hopefully beautiful cast, the elegant flies and complex lines and, of course, the grab of the fish that feeds some need I don’t fully understand. I want to catch fish. Desperately sometimes but not so desperately that I pick up the nymph rod. Not because I’m too good for it but because it’s not what I want.
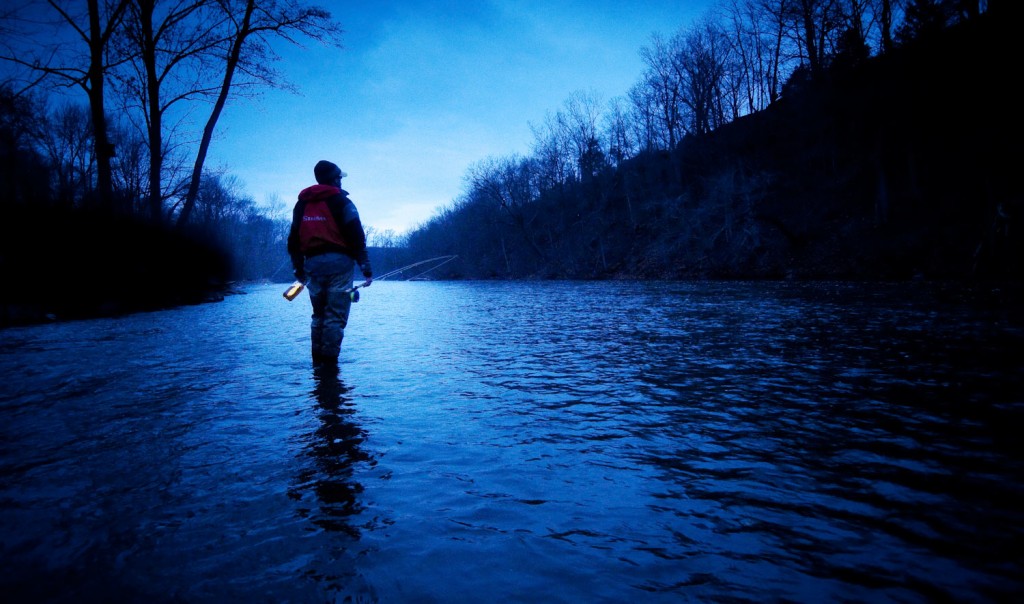
The cost of this mania, as anyone who has ever done it knows, is the ever present risk of getting skunked. It’s always right there with you. It’s on the plane next to you. It’s in the boat. It’s low-holing you in every run. It snuggles up next to you in the bed, its awkward boner pressed against your backside. It’s in you dreams. Dreams where suave Disneyesque skunks bring you heart-shaped boxes of goose eggs. From the minute you pick up the long rod with two feet of cork, the skunk is riding shotgun.
Here’s the uncomfortable truth.
Read More »