By Bob Reece
Mid summer kicks off the season of foam for most of the trout fisheries that I frequent.
Foam patterns are a blast to fish. However, the process of tying with this buoyant material can produce frustration at the vise.
If I had to rank my techniques for working with foam, “pinch and cinch” would be at the top of my list. Foam can have a mind of its own. Attaching this springy material to the hook when and where a tier wants can be challenging. One key step to this is compressing the foam with your thumb and index finger when you take thread wraps around the material. This process results in tight wraps that hold the foam in its intended location. It also lowers the stress on the thread. This reduces the risk of breaking the thread or cutting the foam if a heavy gauge thread is being used.
When creating foam flies, I think of the process as sculpting. Foam’s pliable nature allows the tier to twist, stretch and bend it into the desired shape and position. By applying slight tension to the foam a thinner profile is created. A reduction in that tension allows the foam to return to its original dimensions.
The excess use of glue should never take the place of proficient tying techniques. Yet, when tying with foam super glue in is essential element of long lived patterns. Foam is a smooth and slippery material. This property causes it to rotate and slide on the hook shank without the presence of glue. As a result of this, I always apply a thin layer of Zap-A-Gap between the applied foam and the shank of the hook. This helps to anchor the pattern and ease subsequent tying steps.
The season of foam is finally upon us! As you move forward in your growth as a tier, venture into the world of foam. When worked with properly, this versatile material can be used to create some of the most enjoyable fly patterns that you’ll ever fish.
To see more Bob Reece tying videos, click on the link below:
http://www.thinairangler.com/tying-videos
To shop for Bob Reece’s current Umpqua Fly Patterns, click on the link below:
http://www.thinairangler.com/flyshop
To explore Bob Reece’s Wyoming Guide Service, click on the link below:
http://www.thinairangler.com/horse-creek-ranch-fly-fishing
Bob Reece Gink & Gasoline www.ginkandgasoline.com hookups@ginkandgasoline.com Sign Up For Our Weekly Newsletter!


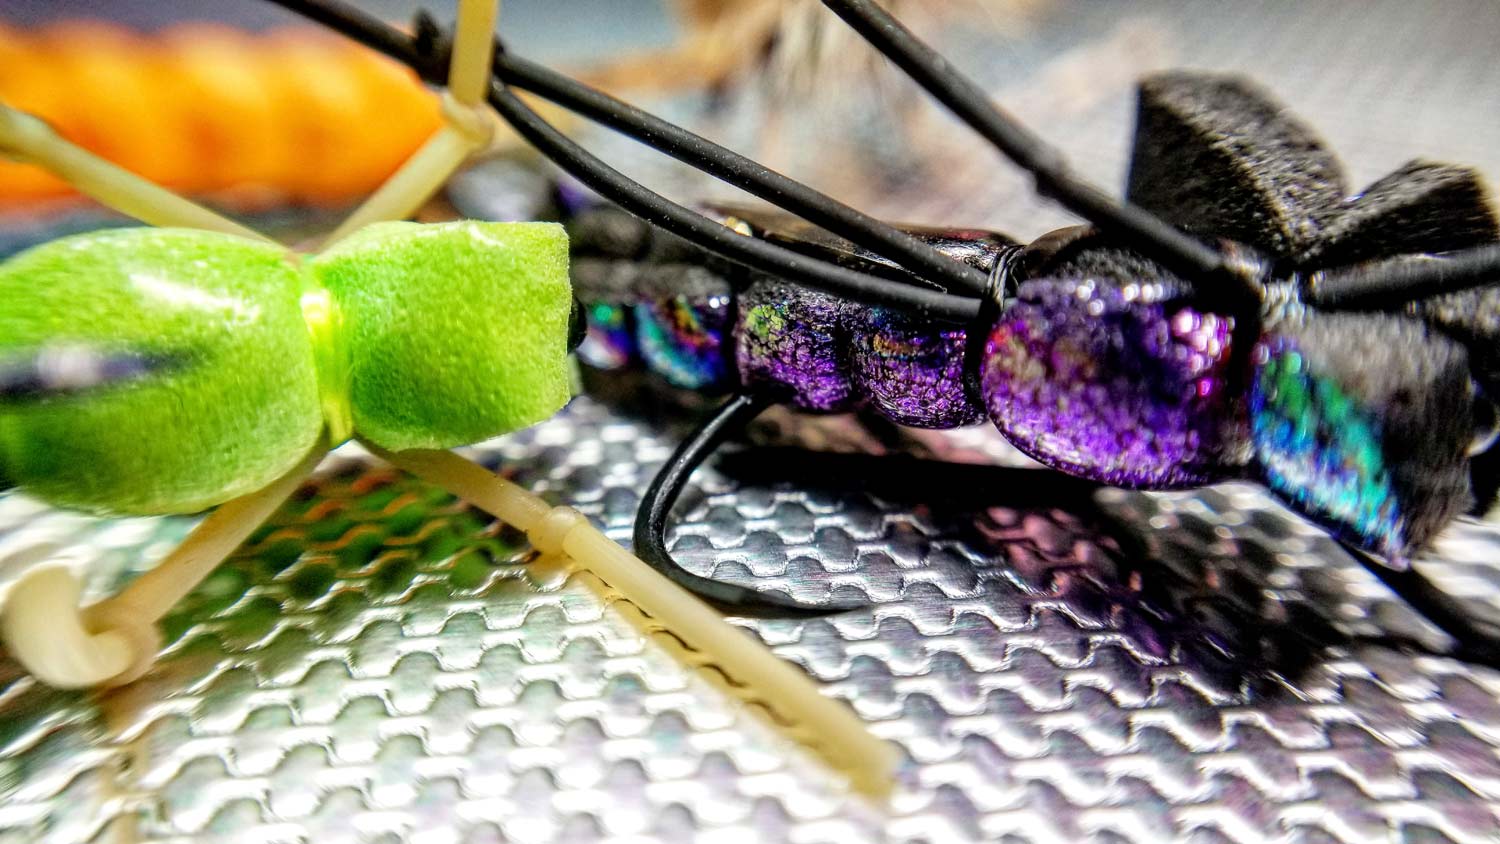
How did you get the nifty rainbow oil slick looking colors on the hopper pictured in the right of the photo.
I would also love to know how to get that effect. Would you mind sharing?
Its Loco Foam
Harrison Steeves is the man on foam flies. “Tying Flies With Foam Fur And Feathers.” The Los Alamo Ant is my go-to when I see a large trout rising. It’s The Bomb.
Good stuff – showing techniques without getting lost in the detail of tying a pattern.
I like it a lot, thanks!
Thank you! I think in the current state of fly tying we often forget that becoming a better fly tier happens when you master techniques.
I agree, I often have to watch long videos about tying a specific fly to get info on a technique…and then figure out a way to apply that to an idea.
Your video quickly demonstrated three techniques, that’s really good teaching.
Thank you
I know this is an older post, but I just came across it. Also, I don’t want to hijack the posting and video. I think the tyer did an excellent job explaining the various techniques. There is a lot of interest in the photo with the ‘oil’ color on the right side pattern. There are other techniques to use in foam tying that could result in that particular color: using Loco Foam Oil Slick color, remember that you can use a thin coat of fingernail polish on the bottom side and polish colors/effects these days is insane, you could also find a sheet of sparkle foam in 1/8” and apply a coat of sealer over it so the sparkle doesn’t fall off. The effect in the photo appears like the typer used standard black on the top half and the ‘oil slick’ color on the bottom. I hope you all find this helpful.